Tools Required
J 39400-A Halogen Leak Detector
Removal Procedure
- Recover the refrigerant from the A/C system. Refer to Refrigerant Recovery and Recharging .
- Remove the front grille. Refer to Grille Replacement in Exterior Trim.
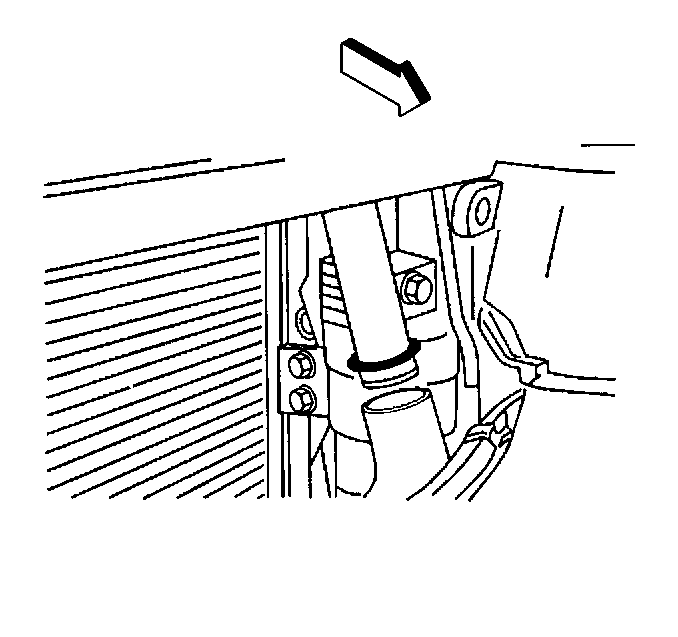
- Pull the washer reservoir fill tube straight up to remove from the windshield washer reservoir.
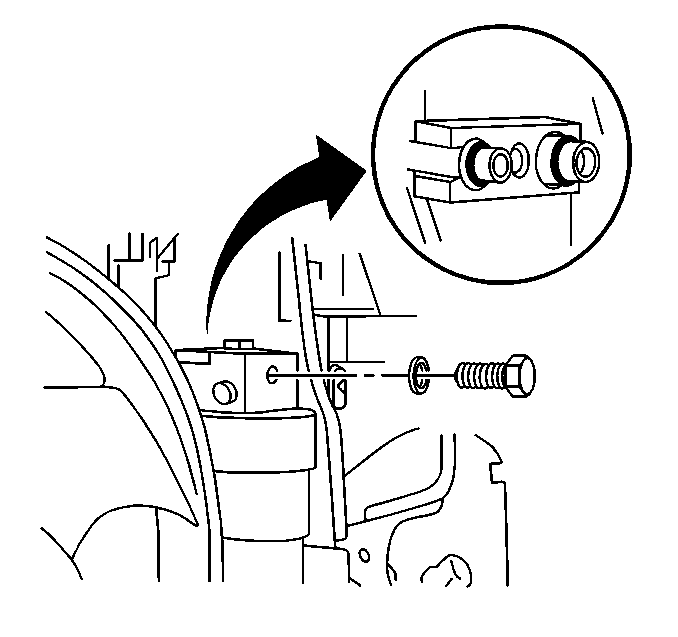
- Remove the receiver/dehydrator block fitting bolt.
- Remove the upper radiator covers:
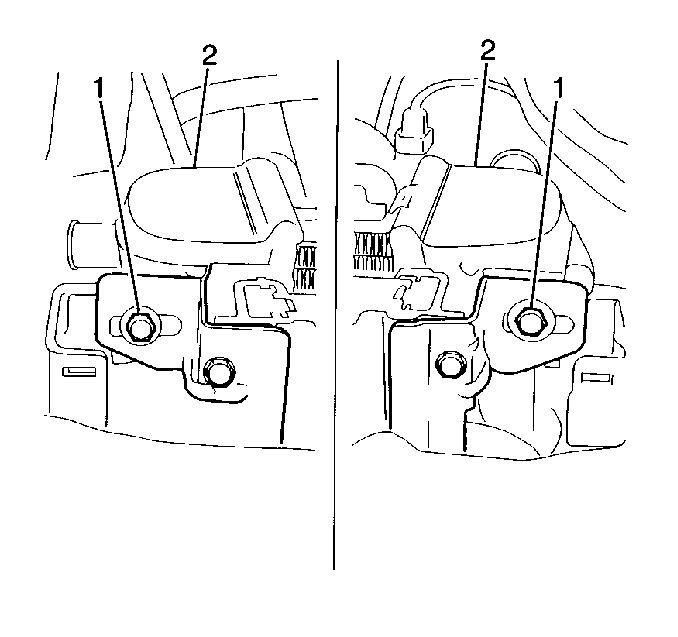
- Remove the LH and RH condenser-to-radiator screws (1).
- Slightly tilt the condenser to the LH side of the vehicle (use care so as not to damage refrigerant tubes and/or the condenser) to allow extra clearance when removing and installing the receiver/dehydrator bracket bolts. (If desired, remove the two knock-outs located in the fan shroud of the LH side pusher for R/D bracket bolt access.)
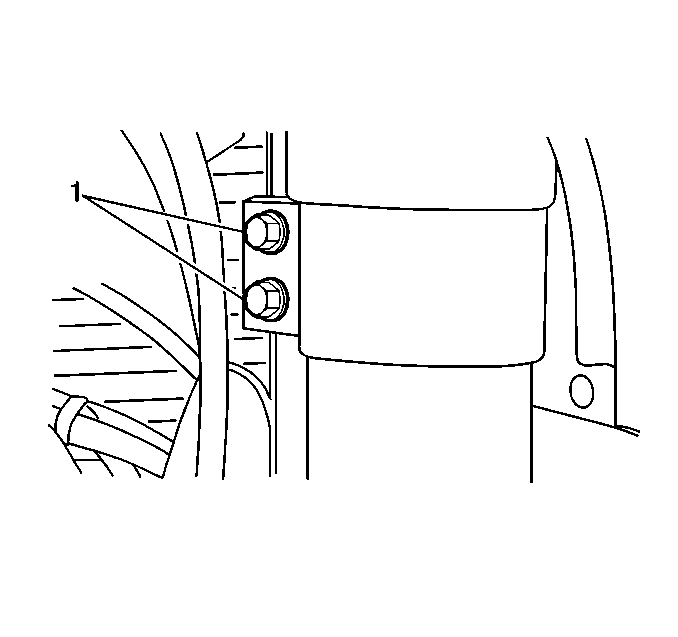
- Remove the receiver/dehydrator bracket bolts (1).
- Remove the receiver/dehydrator.


| 5.1. | Release the self-locking tabs on both outer covers. |
| 5.2. | Remove the two screws from the center cover. |


Installation Procedure
- Mount the receiver/dehydrator to the condenser.
- Install the receiver/dehydrator bracket bolts (1).
- Re-position the condenser. (Ensure the lower mounting pins are fully seated in the lower rubber grommets)
- Install the LH and RH condenser-to-radiator screws.
- Install the upper radiator covers:
- Install the receiver/dehydrator block fitting bolt.
- Install the receiver/dehydrator block fitting bolt.
- Install the washer reservoir fill tube into the windshield washer reservoir.
- Clean away any washer solvent from the work area.
- Install the front grille. Refer to Grille Replacement in Exterior Trim.
- Evacuate and recharge the A/C system. Refer to Refrigerant Recovery and Recharging .
- Leak test the fittings of the component using J 39400-A .

Notice: Use the correct fastener in the correct location. Replacement fasteners must be the correct part number for that application. Fasteners requiring replacement or fasteners requiring the use of thread locking compound or sealant are identified in the service procedure. Do not use paints, lubricants, or corrosion inhibitors on fasteners or fastener joint surfaces unless specified. These coatings affect fastener torque and joint clamping force and may damage the fastener. Use the correct tightening sequence and specifications when installing fasteners in order to avoid damage to parts and systems.
Tighten
Tighten the bolts to 4 N·m (35 lb in).

Tighten
Tighten the screws to 8 N·m (71 lb in).
| 5.1. | Install the two screws to the center cover and tighten until fully seated. |
| 5.2. | Secure the two self-locking tabs on both outer covers. |

| • | Use new O-rings. |
| • | Lubricate the new O-rings with mineral oil, 525 viscosity. |
Tighten
Tighten the bolt to 15 N·m (11 lb in).

