Disassemble Procedure
Tool Required
J 22429 Piston Retainer
- Perform the brake caliper overhaul procedures on a clean, dry
work area.
Important: Do not separate the caliper housing halves to overhaul the calipers.
If the caliper housings leak at the mating surfaces of the two halves replace
the caliper.
- Install the J 22429
onto
the caliper opposite the piston to be removed.
- Direct dry, filtered compressed air into the fluid channel port
of the caliper housing to remove the piston.
Caution: Do not place your fingers in front of the piston in order
to catch or protect the piston while applying compressed air. This could result
in serious injury.
Important: Use clean shop towels to pad the inside of the caliper housing during
the rear brake caliper piston removal.
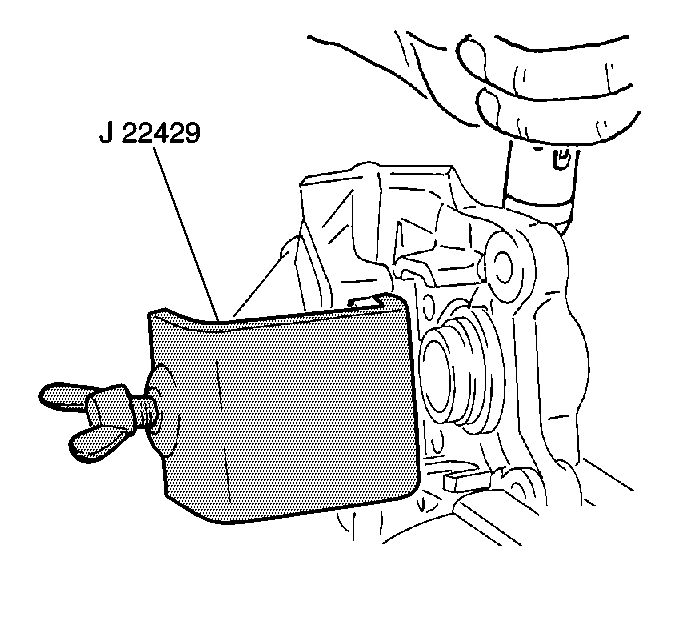
- Use the J 22429
to cover the exposed caliper bore.
Caution: Do not place fingers in front of the caliper piston(s) in an attempt
to catch or protect it when applying compressed air. The piston(s) can fly
out with force and could result in serious bodily injury.
- Use dry unlubricated compressed air to carefully remove the opposing
piston.
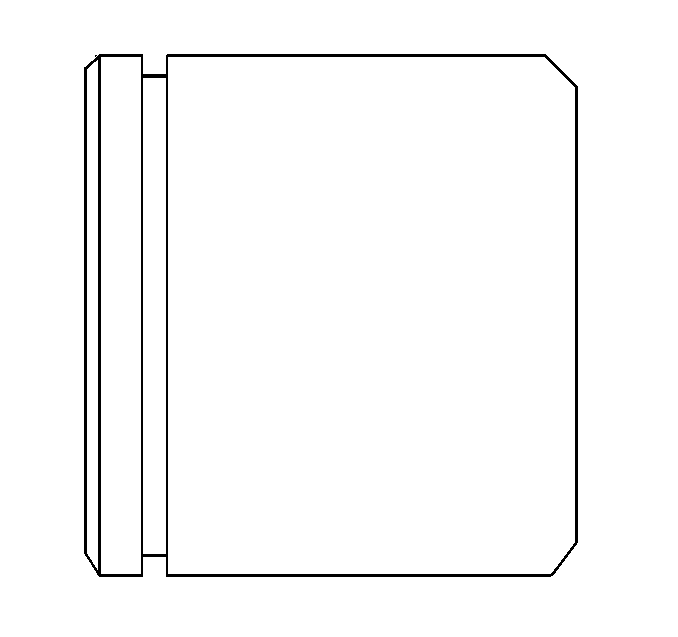
- Inspect the pistons for the following
conditions:
- Replace the piston(s) as necessary.
- Use a small wood or plastic tool to remove the rear brake caliper
piston seal(s).
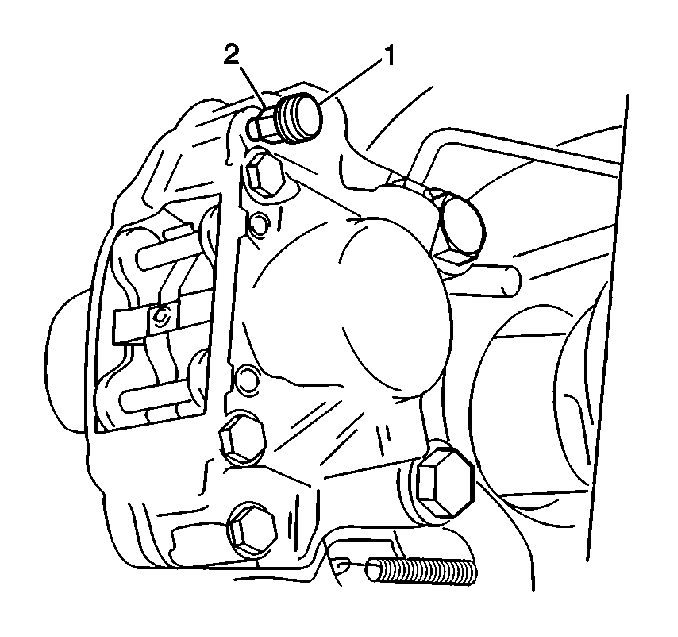
- Remove the bleeder valve cap (1).
- Remove the rear brake caliper bleeder valve (2).
- Inspect all the parts for the following conditions:
| • | Inspect for excessive wear. |
| • | Inspect for other changes. |
- Replace the parts as necessary.
- Use denatured alcohol to clean all the parts not included in the
repair kit.
- Use dry, filtered compressed air to dry the parts.
- Blow out all the passages in the caliper housing.
- Blow out all the passages in the bleeder valve.
- Inspect the caliper housing bores for the following conditions:
- Replace the caliper housing if badly scored and/or corroded around
the seal areas.
Assemble Procedure
- Clean all parts in denatured alcohol.
- Dry with unlubricated compressed air.
- Blow out all passages in the caliper housing and bleeder valve
with compressed air.
- Use clean brake fluid to lubricate the new piston seals.
- Use clean brake fluid to lubricate the caliper housing bore seal
grooves.
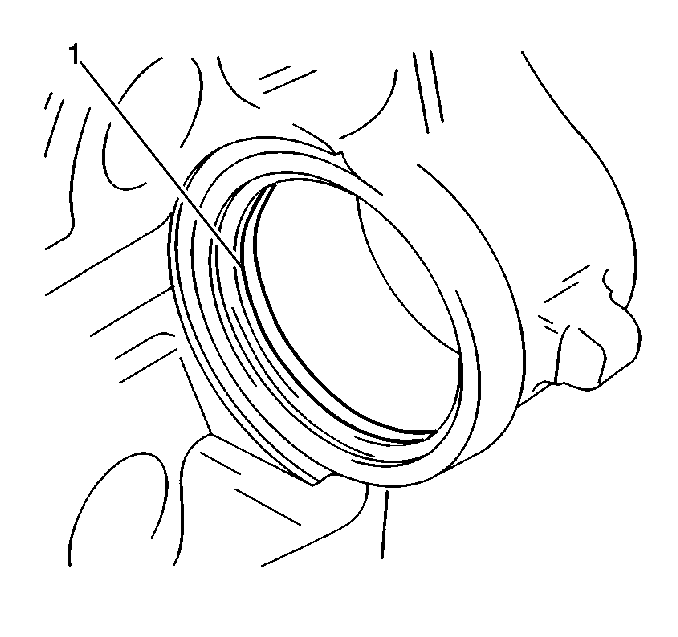
- Install new piston seals (1) into the
caliper housing seal grooves.
Important: Ensure the piston seals are properly seated and not twisted.
- Use clean brake fluid to lubricate the bores of the caliper housing.
- Use clean brake fluid to lubricate the pistons.
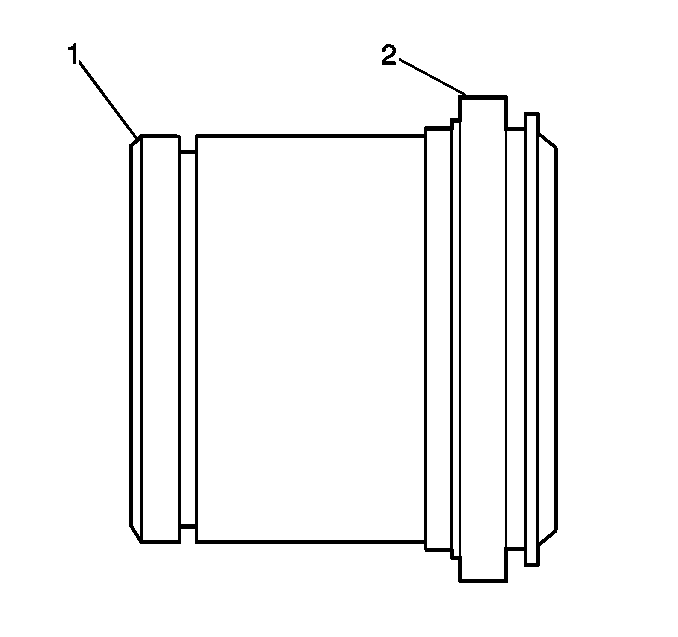
- Install the dust boots (2) onto the pistons
(1). The dust boot seats in the piston channel once the piston is fully
seated.
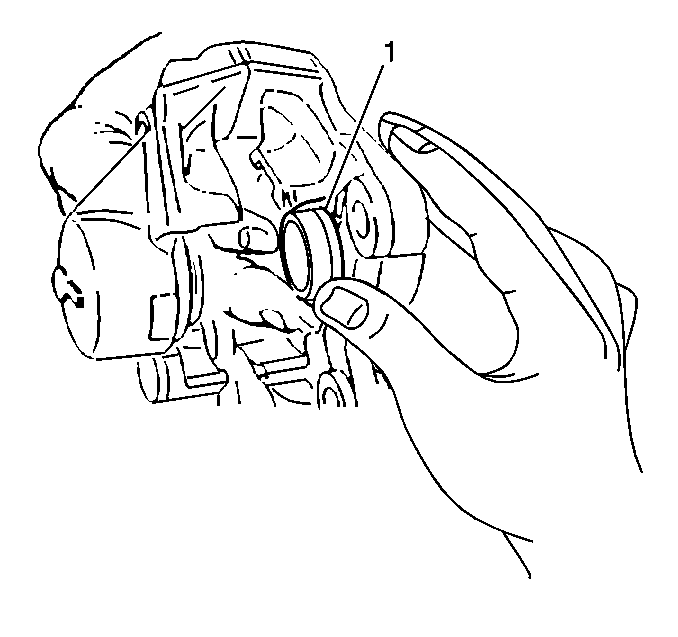
Important: By applying compressed air to the caliper housing inlet bore and positioning
the piston in front of the dust boot the compressed air will expand the boot
over the piston. Once the boot is over the piston release the compressed
air and insert the piston into the bore. This may require assistance
of a helper.
- Push the pistons down by hand into the bottom of the bores of the caliper
housing.
Once the piston is bottomed into the caliper housing bore the dust boot
will seat itself in the machined channel on the piston. Caliper is now ready
for installation.


