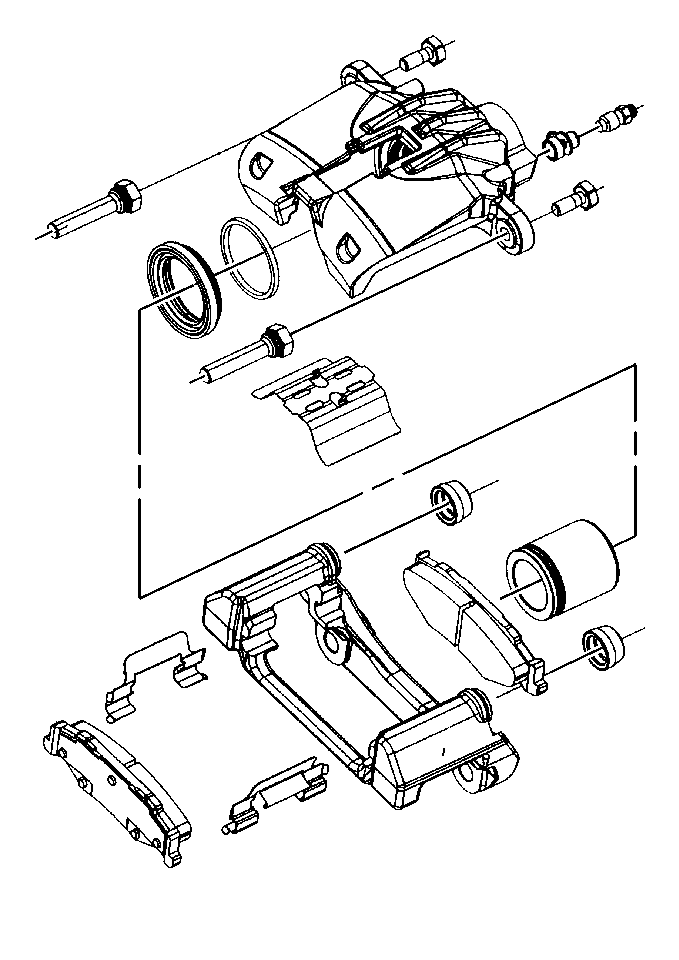
Disassembly Procedure
- Disassemble the piston from housing.
Caution: Do not place fingers in front of the caliper piston(s) in an attempt
to catch or protect it when applying compressed air. The piston(s) can fly
out with force and could result in serious bodily injury.
| • | Insert piece of wood or shop towel into caliper to cushion piston
upon removal. |
| • | Apply moderate compressed air to the caliper housing inlet hole. |

- Inspect the piston for
the following conditions:
| • | Worn or damaged chrome plating |
| • | Replace the piston if any of the above are found. |
- Disassemble the front brake caliper dust boot from housing.
- Disassemble the front brake caliper seal from the housing.
Use a small wood or plastic tool.
- Insect the caliper housing bore and seal groove for the following
conditions:
| 1. | Use crocus cloth to polish out light corrosion. |
| 2. | Replace caliper if corrosion in and around the seal groove will
not clean up with crocus cloth. |
Assembly Procedure
- Clean all parts in denatured alcohol.
- Dry with unlubricated compressed air.
- Blow out all passages in housing and valve with compressed air.

- Lubricate
piston and all rubber parts with clean brake fluid.
- Seal into the bore groove of housing.
Ensure seal is seated and not twisted.
- Dust boot into caliper housing.
- Assemble piston into dust boot.
Important: By applying compressed air to the caliper housing inlet bore and positioning
the piston in front of the dust boot the compressed air will expand the boot
over the piston. Once the boot is over the piston release the compressed
air and insert the piston into the bore. This may require assistance of a
helper.
- Push piston to the bottom of the caliper housing bore.
The dust boot will seat in the machined channel on the piston once the
piston is bottomed into the caliper housing bore .


