Caution: Failure to adhere to the following precautions before tire balancing
can result in personal injury or damage to components:
| • | Clean away any dirt or deposits from the inside of the wheels. |
| • | Remove any stones from the tread. |
| • | Use coated weights on aluminum wheels. |
Important: On-vehicle balancing is not recommended on the Catera due to the silicone
injected front control arm bushings. Only off-vehicle balancing is recommended.
Tire and wheel balancers can drift out of calibration without warning,
or can become inaccurate as a result of abuse. The balancer calibration should
be inspected according to the manufacturer's requirements.
Tire Balancer Calibration Test

Important: Calibrate the tire balancer according to the manufacturer's recommendations,
or use the following procedure.
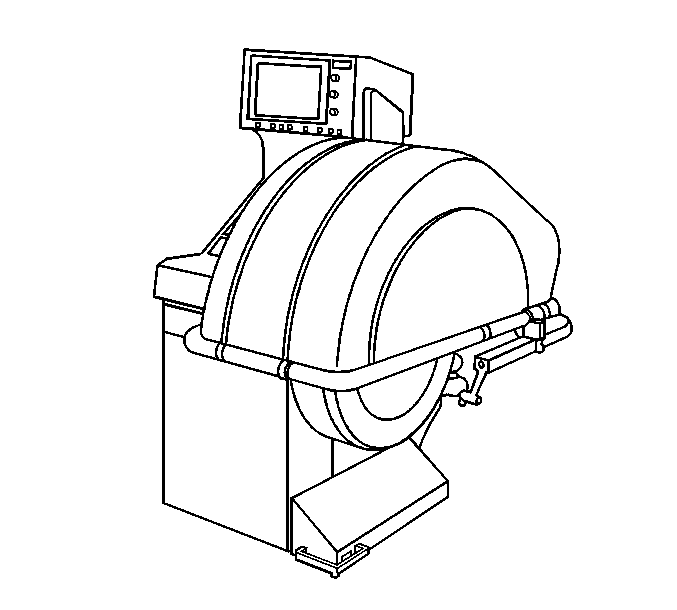
- Spin the balancer without a wheel or any of the adapters on the shaft.
- Inspect the balancer readings.
Specification
0-7 g (0.00-0.25 oz)
- Balance a tire and wheel assembly that is within radial and lateral
tolerances to ZERO.
- Add an 85 g (3 oz) test weight to the wheel at any
location.
- Spin the tire and wheel assembly again. Observe the readings.
| • | In the static and dynamic modes, the balancer should call for
85 g (3 oz) of weight, 180 degrees opposite the test
weight. |
| • | In the dynamic mode only, the weight should be called for on the
flange of the wheel opposite the last weight. |
- With the assembly unbalanced to 85 g (3 oz), cycle
the balancer five times.
- Take the balancer readings:
Specification
Variation: 7 g (0.25 oz) or less
- Index the tire and wheel assembly at four separate locations on
the balancer shaft, 90 degrees apart.
- Cycle the balancer with the assembly at each location.
- Take the balancer readings:
Specification
Variation: 7 g (0.25 oz) or less
Tire Balancing Guidelines
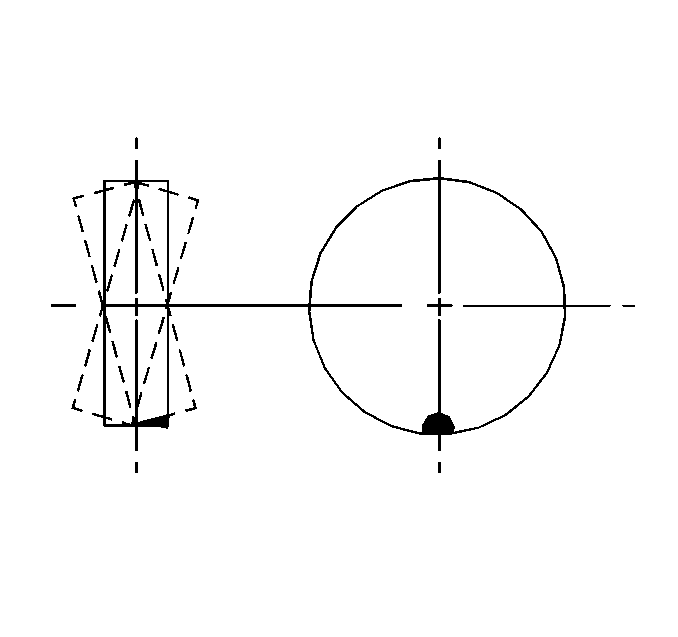
Dynamic balance, or two-plane balance, affects the distribution of weight
on each side of the tire/wheel centerline.
Dynamic
imbalance results in a side-to-side motion of the tire, or shimmy.

| • | Balance all 4 tires
as close to ZERO as possible. |
| • | Carefully follow the wheel balancer manufacturer's instructions
for proper mounting techniques for different types of wheels. |
| • | Aftermarket wheels, especially those incorporating universal lug
patterns, are potential sources of runout and mounting problems. |
| • | Use the correct coated weights on aluminum wheels. |
| • | Retest the tire and wheel assemblies for excessive runout after
correction and installation. |
| • | Evaluate the vehicle at the complaint speed and note if the vibration
has been corrected. |
| • | If the vibration is still present, or is reduced but still unacceptable,
consider these possibilities: |
| - | Radial or lateral force variation |
Wheel Weight Usage
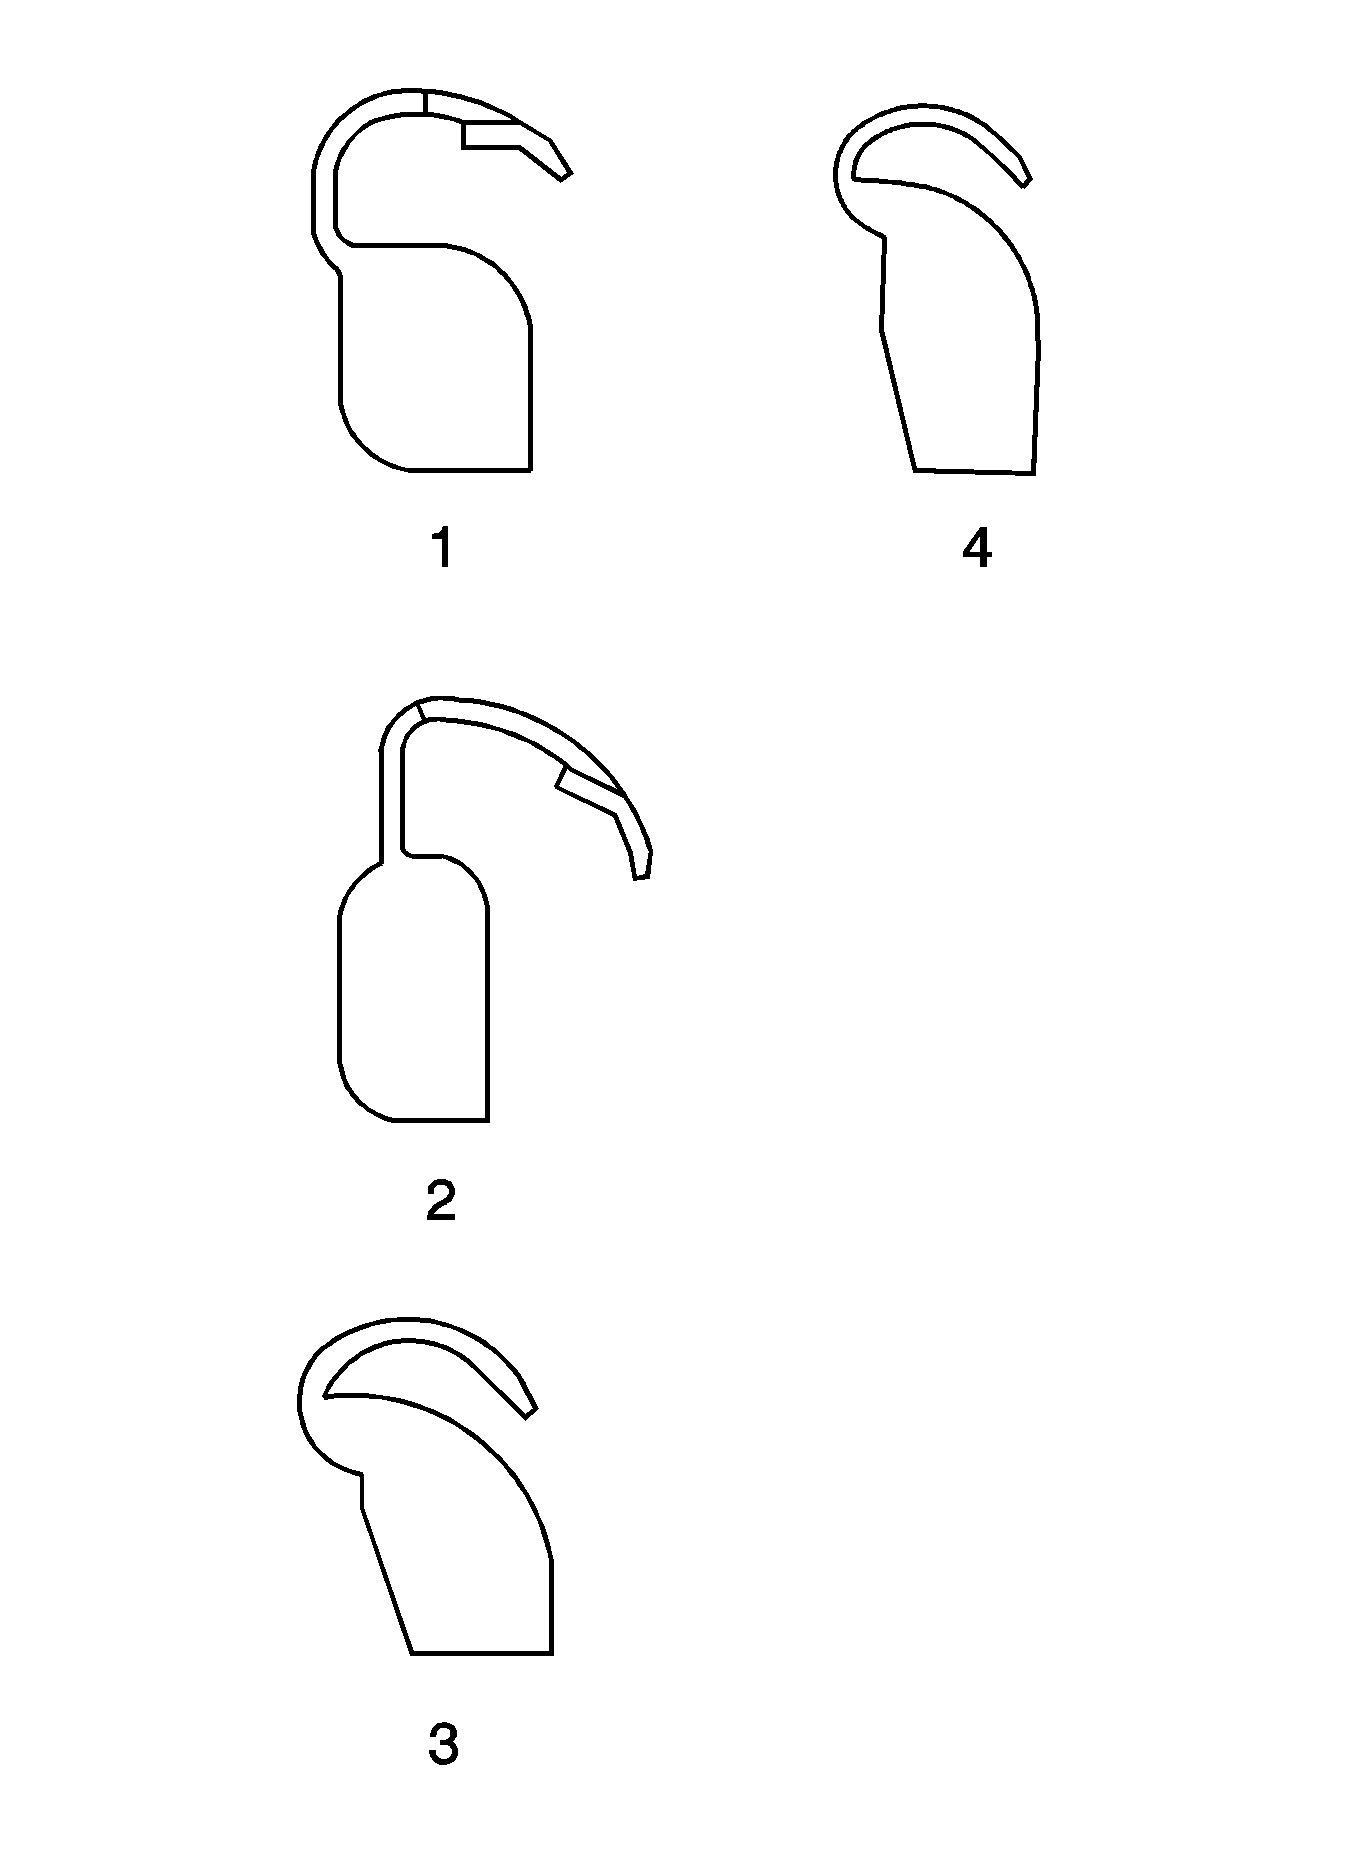
When using the dynamic balancing, place the weights
at the following specified positions:
| • | On the 17 inches aluminum wheel, place one adhesive weight
on the outboard side of the wheel and one clip-on weight on the inboard rim
flange. |
| • | On the 16 inches aluminum wheel, place one adhesive weight
on the outboard side of the wheel and one clip-on weight on the inboard rim
flange. |
| • | On the 16 inches chrome wheel only adhesive
weights are allowed on either side of the wheel. |


