For 1990-2009 cars only
Removal Procedure
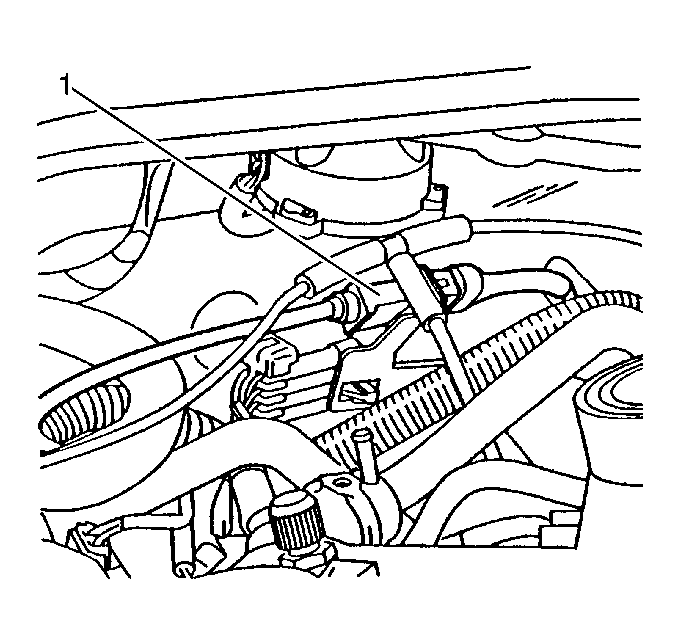
- Disconnect the wiring harness (1) from the Crankshaft Position (CKP) sensor pigtail.
- Securely attach a scrap piece of wire about 36 inches long to the CKP sensor pigtail. Later, this piece will be used as a pull wire to guide the new sensor pigtail back through the same routing.
- Raise and support the vehicle. Refer to Lifting and Jacking the Vehicle .
- Loosen the oil cooler lines at the engine block. Back out the fittings far enough in order to gain sufficient clearance for the sensor pigtail connector to pass between the oil cooler lines and the side of the engine block.
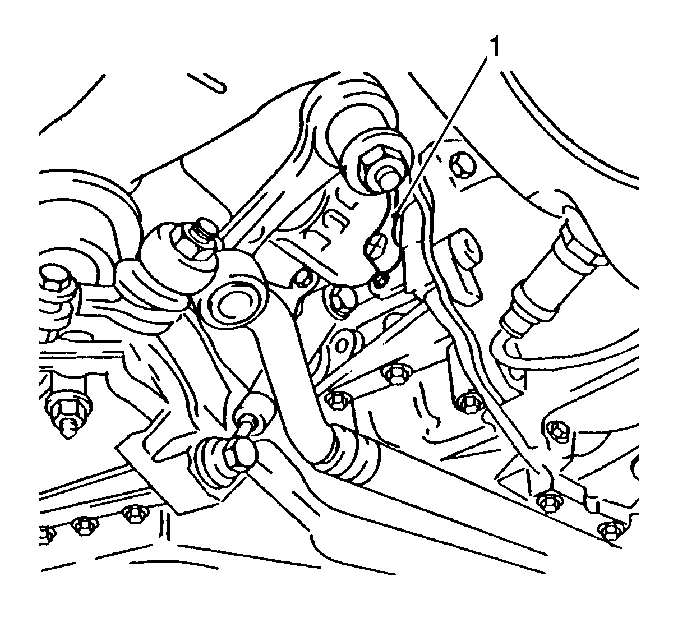
- Remove the fastening bolt for the CKP sensor (1).
- Remove the CKP sensor and the O-ring seal from the engine block.
- Remove the CKP sensor pigtail. Observe the routing of the pigtail. Gently pull the CKP sensor pigtail down through the routing path and out. Guide the pigtail connector along the top of the oil cooler lines around to the side of the engine block. Pass the connector between the lines and the block at the point of the widest gap. Stop when the pull wire is exposed at both ends of the routing path.
- Disconnect the sensor from the pull wire.


Installation Procedure
- Securely attach the CKP sensor pigtail to the lower end of the pull wire.
- Pass the pigtail connector between the oil cooler lines and the engine block.
- Using the pull wire as a guide, pull the sensor pigtail along the top of the oil cooler lines and around to the rear of the engine. Use the pull wire to pull the pigtail up into position.
- Disconnect the pull wire from the sensor pigtail.
- Connect the sensor pigtail to the harness connector.
- Thoroughly clean the mating surfaces of the CKP sensor and the engine block.
- Install the CKP sensor with a new O-ring seal into the engine block.
- Install the fastening bolt (1) for the CKP sensor.
- Check the harness for proper routing. Do not let the wiring come in contact with the exhaust manifold.
- Tighten the oil cooler lines at the engine block.
- Install the oil filter.
- Lower the vehicle.
- Recheck the engine oil level.

Notice: Use the correct fastener in the correct location. Replacement fasteners must be the correct part number for that application. Fasteners requiring replacement or fasteners requiring the use of thread locking compound or sealant are identified in the service procedure. Do not use paints, lubricants, or corrosion inhibitors on fasteners or fastener joint surfaces unless specified. These coatings affect fastener torque and joint clamping force and may damage the fastener. Use the correct tightening sequence and specifications when installing fasteners in order to avoid damage to parts and systems.
Tighten
Tighten the bolt to 8 N·m (6 lb ft).
