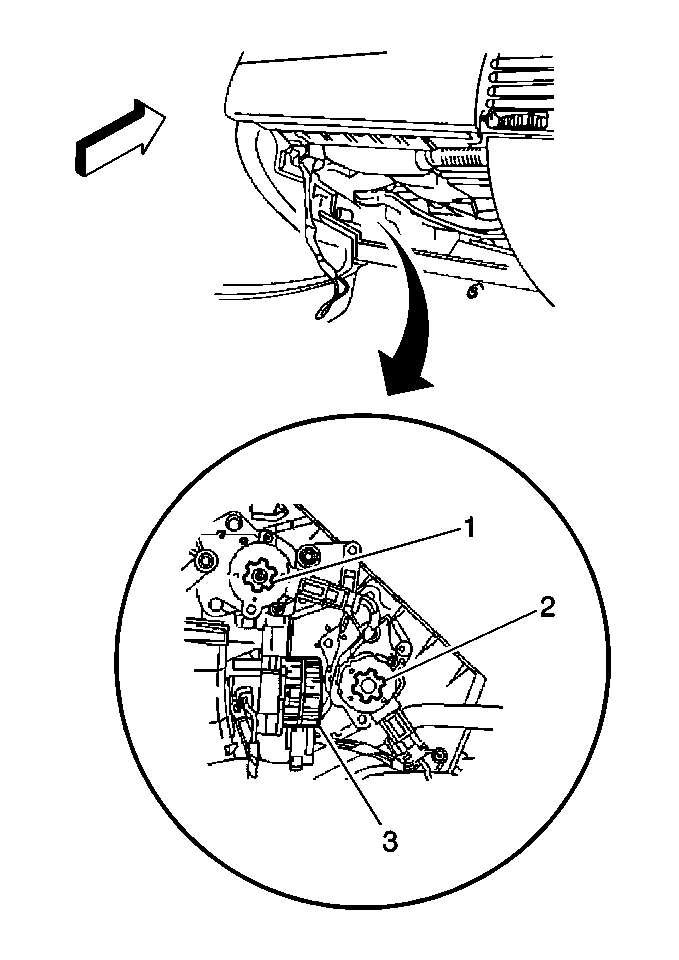
For 1990-2009 cars only
Removal Procedure
The defroster actuator (2) is located on the passenger side of the HVAC module, directly above the heater core lines, facing the RH side of the vehicle.
- Remove the RF floor air outlet.
- Remove the I/P compartment. Refer to Instrument Panel Compartment Replacement in Instrument Panel, Gauges and Console.
- Disconnect the defroster actuator electrical connector.
- Remove the defroster actuator screws.
- Remove the defroster actuator from the linkage.
- Remove the defroster actuator from the vehicle.

Important: The actuator linkage may need to be rotated in order to access the screws for the following step.
Installation Procedure
- Install the defroster actuator.
- Install the defroster actuator to the linkage.
- Install the defroster actuator screws until fully seated and not stripped.
- Connect the defroster actuator electrical connector.
- Install the I/P compartment. Refer to Instrument Panel Compartment Replacement in Instrument Panel, Gauges and Console.
- Install the RF floor air outlet.
- Synchronize the actuators:

Important: The actuator linkage may need to be rotated in order to access the screw holes for the following step.
| • | Turn the ignition switch to the ON position. |
| • | Simultaneously press and hold the AUTO and OFF buttons on the ECC control panel for at least 5 seconds. |
