Disassembly Procedure
Tools Required
| • | J 42072 Rear
Brake Backing Plate Bolt Remover |
| • | J 35669 Strut
Rod Nut Remover and Installer |
Only the following generator components are serviceable:
If any of the following components need replacement, replace the generator:
- Remove the pulley nut using, J 42072
to hold the generator shaft while using J 35669
to loosen the pulley nut.
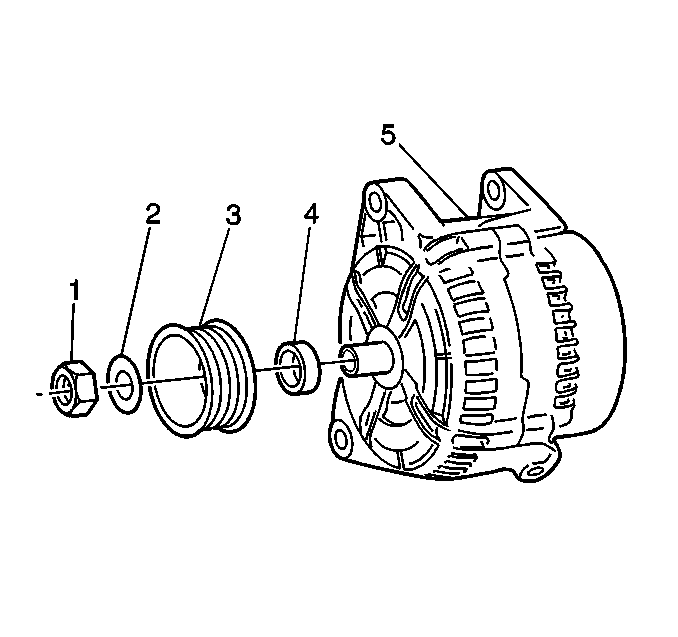
- Remove the following pulley
components:
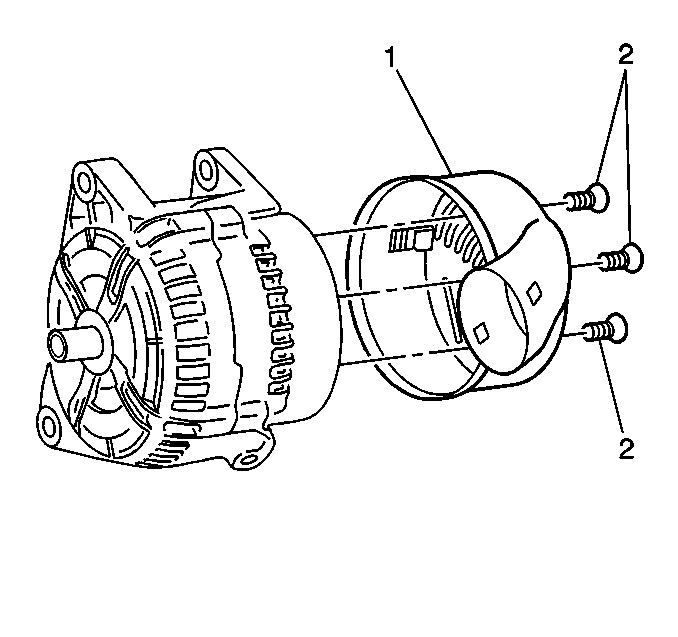
- Remove the generator cooling
duct cap:
| • | Remove the generator cooling duct screws (2). |
| • | Remove the generator cooling duct (1). |
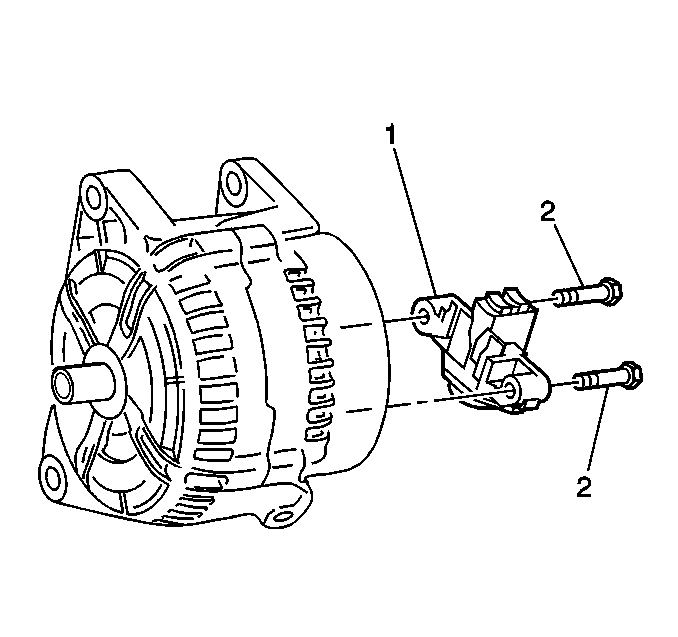
- Remove the voltage regulator:
| • | Remove the voltage regulator screw (2). |
| • | Remove the voltage regulator (1). |
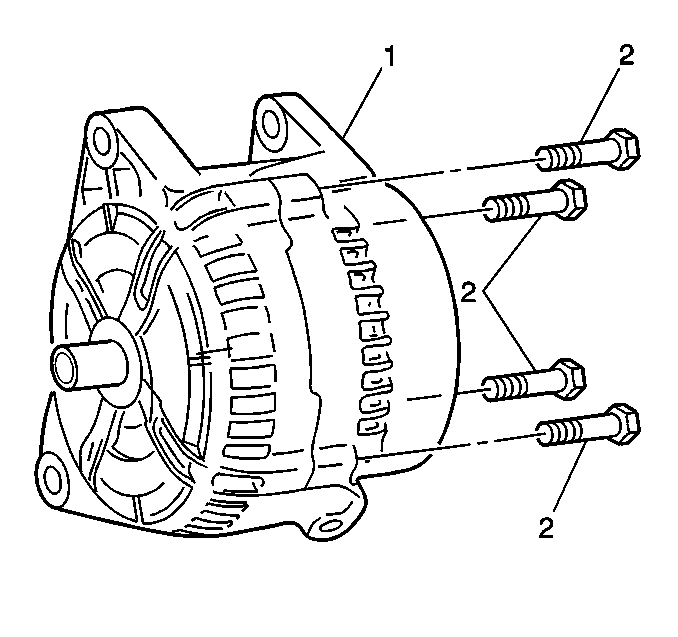
- Remove the frame end bolts
(2).
- Separate the generator frame ends. (The rotor will remain with
the drive end frame.)
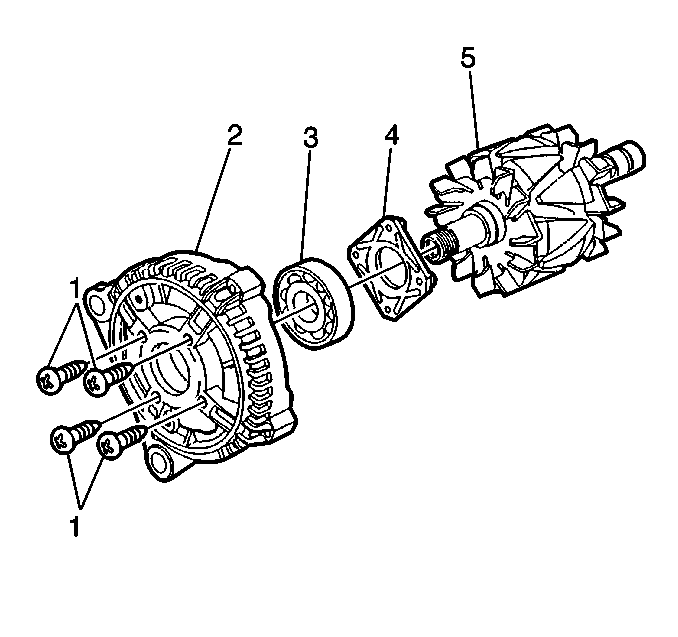
- Remove the rotor from
the drive end frame.
| • | Support the generator drive end frame. |
| • | Lightly tap on the rotor using a soft mallet in order to separate
from the drive end frame. |
- Remove the front bearing screws (1).
- Remove the front bearing retainer (4).
- Remove the front bearing (3) from the drive end frame (2).
Assembly Procedure

- Press the front bearing
to the drive end frame using a suitable driver.
- Install the front bearing retainer (4).
- Install the front bearing retainer screws (1).
- Install the rotor to the drive end frame:
| • | Lightly tap on the drive end frame in order to seat the rotor. |

- Assembly the drive end
and slip ring end frames.
Notice: Use the correct fastener in the correct location. Replacement fasteners
must be the correct part number for that application. Fasteners requiring
replacement or fasteners requiring the use of thread locking compound or sealant
are identified in the service procedure. Do not use paints, lubricants, or
corrosion inhibitors on fasteners or fastener joint surfaces unless specified.
These coatings affect fastener torque and joint clamping force and may damage
the fastener. Use the correct tightening sequence and specifications when
installing fasteners in order to avoid damage to parts and systems.
- Install the generator
frame end bolts (2).
Tighten
Tighten the bolts to 5 N·m (44 lb in).

- Install the voltage regulator:
| • | Position the voltage regulator (1). |
| • | Install the voltage regulator screws (2). |
Tighten
Tighten the screws to 1.5 N·m (13 lb in).

- Install the generator
cooling duct:
| • | Position the generator cooling duct (1). |
| • | Install the generator cooling duct screws (2). |
Tighten
Tighten the screws to 1 N·m (9 lb in).

- Install the following
pulley components:
| • | The washer (2) with the beveled side toward the generator |
- Tighten the pulley nut using, J 42072
to hold the generator shaft while using J 35669
to tighten the pulley nut.
Tighten
Tighten the pulley nut to 65 N·m (48 lb ft).


