Removal Procedure
Tools Required
J 36660-A Torque/Angle Meter
- Raise and support the vehicle. Refer to Lifting and Jacking the Vehicle in General Information.
- Remove the front wheel assembly. Refer to Wheel Removal in Tires and Wheels.
- Remove the brake pad wear indicator wire from the strut bracket.
- Remove the brake hose from the strut bracket by removing the clip.
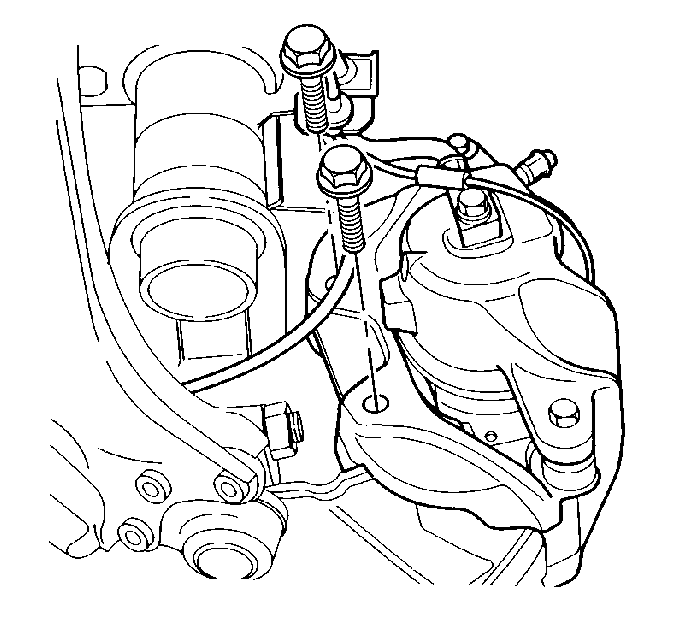
- Remove the brake caliper assembly bolts from the steering knuckle.
- Remove the brake caliper assembly from the steering knuckle. Brake system remains closed.
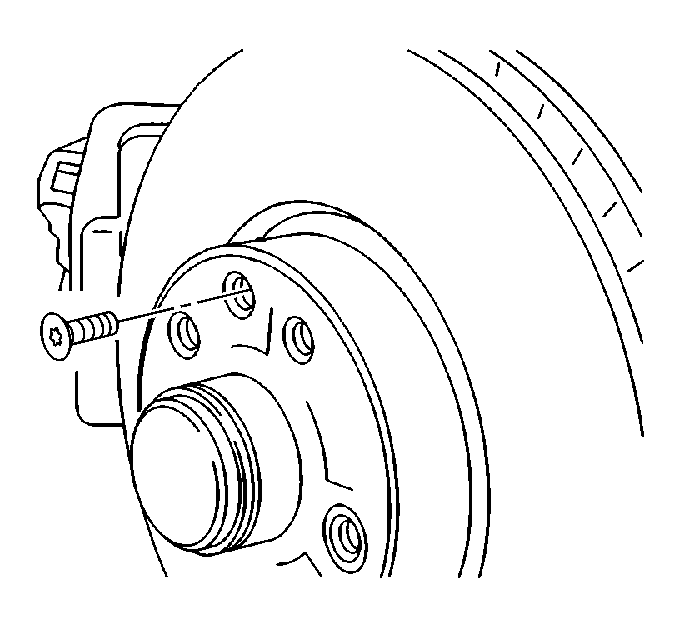
- Remove the brake disc rotor set screw.
- Remove the brake disc rotor.
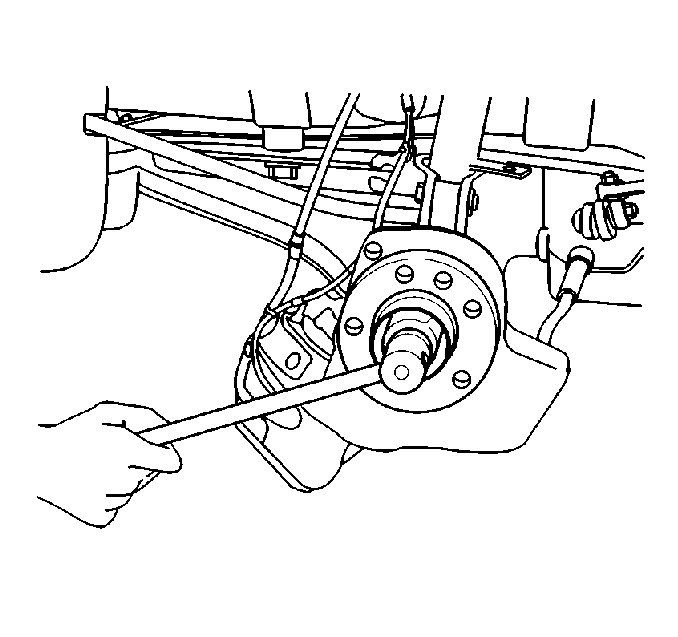
- Remove the dust cap from the wheel hub.
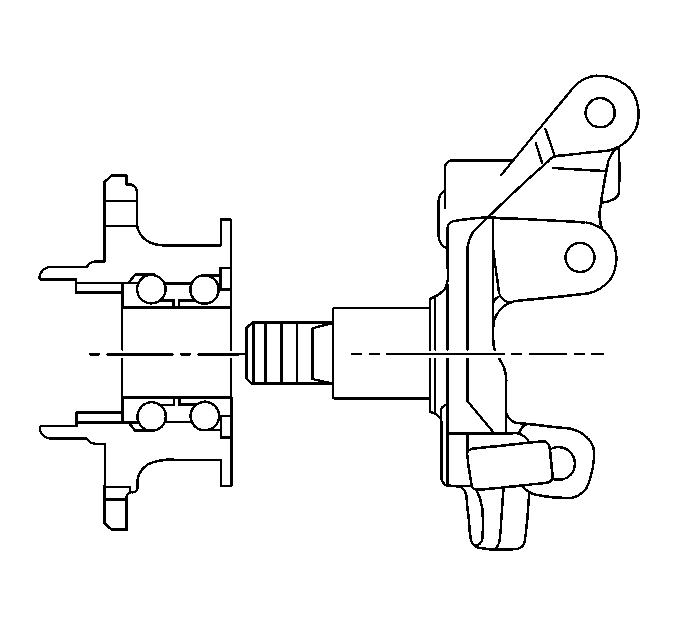
- Remove the wheel hub with the bearing.

Important: Support the brake caliper assembly. DO NOT allow the brake caliper assembly to hang freely or damage may occur to the flex hose.


Installation Procedure
- Install the wheel hub and bearing onto the spindle. Press the outer bearing ring into the wheel hub with a suitable size socket if necessary.
- Install the wheel hub nut.
- Install the dust cap to the wheel hub.
- Install the brake disc rotor and install the brake disc rotor set screw.
- Inspect the bearing for play.
- Inspect the bearing for noise.
- Install the brake caliper assembly to the steering knuckle.
- Install the brake hose to the strut bracket with clip.
- Install the brake pad wear indicator wire to the strut.
- Install the front wheel assembly. Refer to Wheel Installation in Tires and Wheels.
- Lower the vehicle.


Notice: Use the correct fastener in the correct location. Replacement fasteners must be the correct part number for that application. Fasteners requiring replacement or fasteners requiring the use of thread locking compound or sealant are identified in the service procedure. Do not use paints, lubricants, or corrosion inhibitors on fasteners or fastener joint surfaces unless specified. These coatings affect fastener torque and joint clamping force and may damage the fastener. Use the correct tightening sequence and specifications when installing fasteners in order to avoid damage to parts and systems.
Tighten
Tighten the wheel hub nut to 320 N·m (236 lb ft).

Tighten
Tighten the brake disc rotor set screw to 4 N·m (35 lb in).

Important:
• To clean out old locking compound run a M12 x 1.5
tap through the holes for the brake caliper assembly bolts. • Use new bolts for brake caliper assembly connection to the steering
knuckle. • Coat the bolts with locking compound. Use P/N 12345493
Goodwrench 272 Threadlocker, or equivalent.
Tighten
Tighten the brake caliper assembly bolts to 95 N·m (70 lb ft) + 37°.
