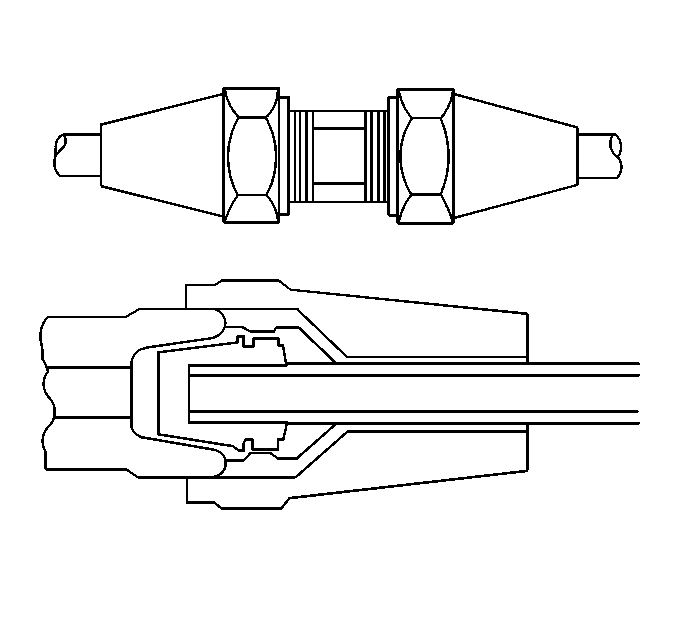
The service repair kit contains the following components:
| • |

A length of tubing with
a snap-on type fitting |
| • | The necessary parts for splicing the tubing to an existing line |
- Detach the existing tubing at the appropriate location.
- Cut all leaking hose areas.
- Remove the cut hose.
- Splice the new tubing to the existing tubing.
- Remove the plastic retainer pin from one of the nuts.
- Slide the replacement tubing into the nut until the tubing bottoms
in the rubber seal.
- Perform the following steps in order to tighten the nut onto the
service coupling:
| 7.1. | Maintain the tubing position acquired in Step 8. |
| 7.2. | The collar on the internal metal sleeve breaks loose while tightening
the nut. |
| 7.3. | Continue to tighten the nut until the nut is secure. |
- Attach the original tubing to the other end of the coupling as
described in Step 9.
- Secure the tubing to the vehicle:
| • | Ensure that the tubing is not pinched. |
| • | Ensure that the tubing does not contact the exhaust system. |

