Removal Procedure
- Open the rear door.
- Pull the rear seat backs forward in order to allow access to the upper shock absorber mount.
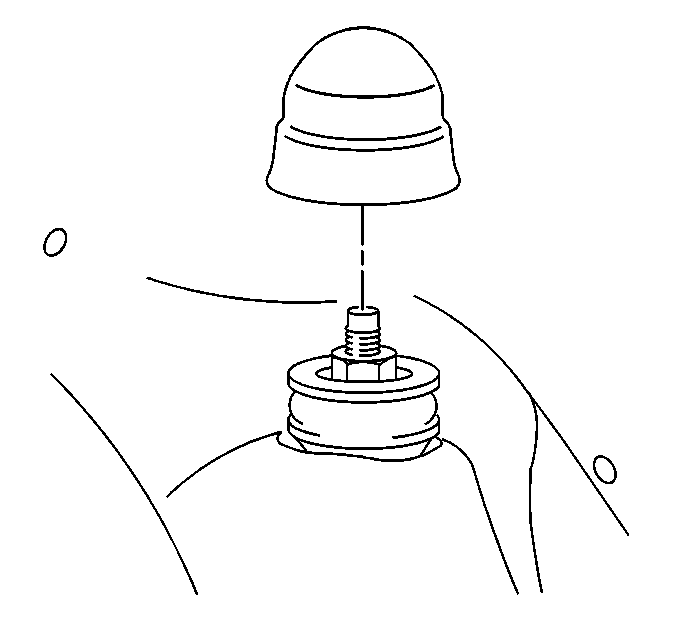
- Remove the rubber protective cap from the shock absorber tower.
- Remove the mounting nut from the upper shock absorber.
- Remove the upper mounting washer.
- Remove the upper mounting grommet.
- Raise and support the vehicle. Refer to Lifting and Jacking the Vehicle in General Information.
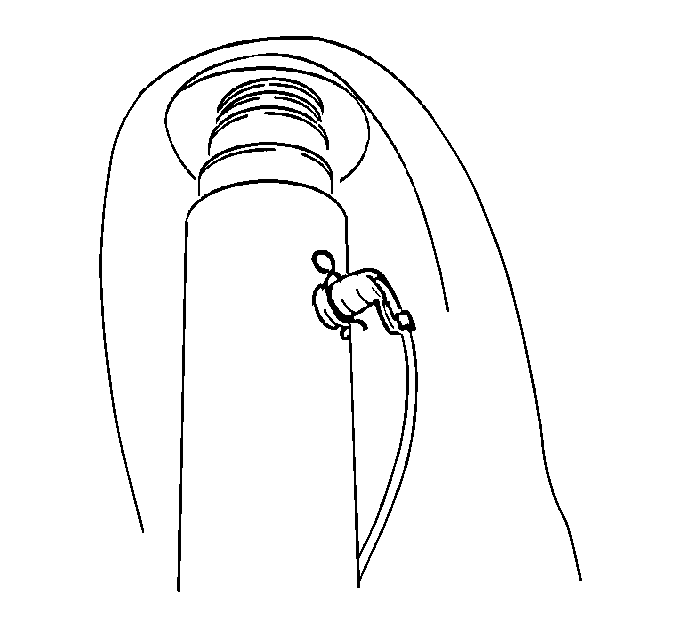
- Remove the Automatic Level Control (ALC) air line connection from the shock absorber.
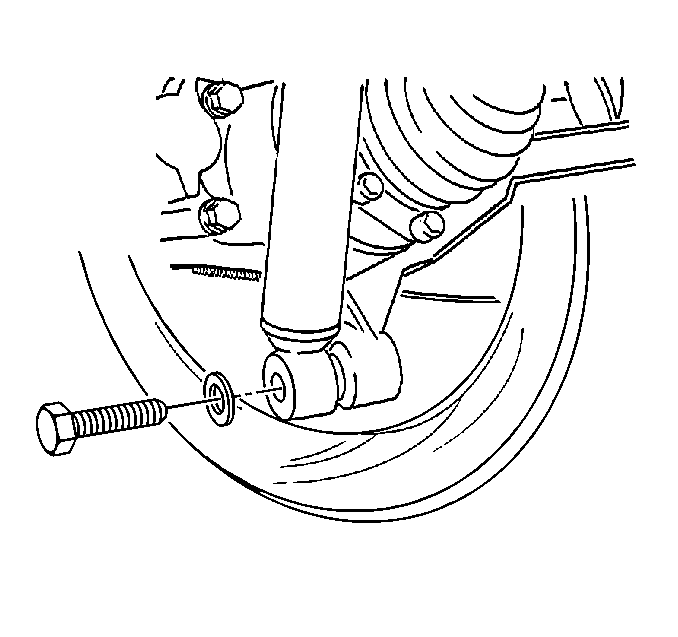
- Remove the mount bolt from the lower shock absorber.
- Remove the shock absorber.

Caution: To help avoid personal injury when a vehicle is on a hoist, provide additional support for the vehicle at the opposite end from which components are being removed. This will reduce the possibility of the vehicle falling off the hoist.


Installation Procedure
- Remove the shipping plug from the air line (tubing) port if installing a new shock absorber.
- Lower the vehicle in order to allow access to the shock absorber tower through the rear seats.
- Attach the lower rubber mounting grommet and the washer to the shock absorber.
- Install the shock absorber to the shock absorber tower.
- Install the upper rubber mounting washer.
- Install the grommet.
- Hold the shock absorber in place with one hand, while reaching inside the vehicle with the other hand in order to start the shock absorber mount nut.
- Install the shock absorber mount nut.
- Install the rubber protective cap to the shock absorber tower.
- Install the rear seats into their proper position.
- Raise and support the vehicle. Refer to Lifting and Jacking the Vehicle in General Information.
- Support the lower control arm in order to allow for installation of the mount bolt to the lower shock absorber if necessary.
- Install the mount bolt to the lower shock absorber.
- Install the ALC air line connection to the shock absorber.

Notice: Use the correct fastener in the correct location. Replacement fasteners must be the correct part number for that application. Fasteners requiring replacement or fasteners requiring the use of thread locking compound or sealant are identified in the service procedure. Do not use paints, lubricants, or corrosion inhibitors on fasteners or fastener joint surfaces unless specified. These coatings affect fastener torque and joint clamping force and may damage the fastener. Use the correct tightening sequence and specifications when installing fasteners in order to avoid damage to parts and systems.
Tighten
Tighten the mount nut to 20 N·m (15 lb ft).
Caution: To help avoid personal injury when a vehicle is on a hoist, provide additional support for the vehicle at the opposite end from which components are being removed. This will reduce the possibility of the vehicle falling off the hoist.

Tighten
Tighten the mount bolt to 110 N·m (81 lb ft).

Lower the vehicle.
