Removal Procedure
- Raise and support the vehicle. Refer to Lifting and Jacking the Vehicle in General Information.
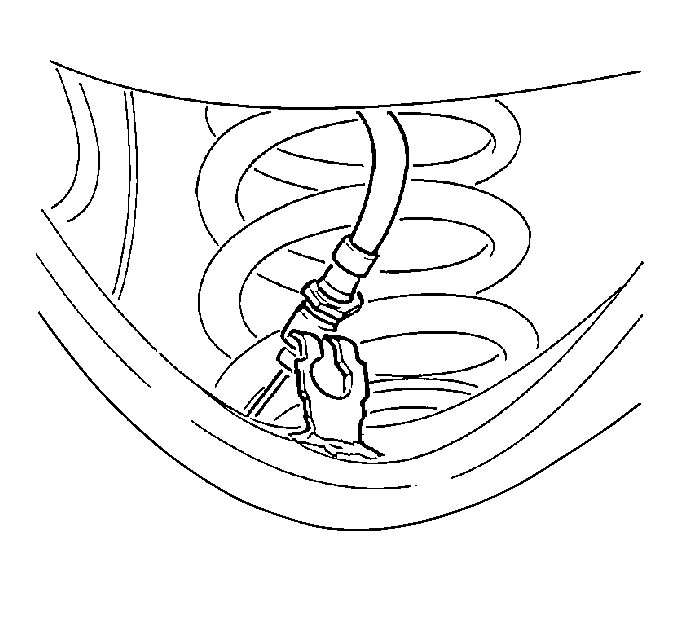
- Remove the retainers from the lower control arms.
- Remove the brake pipes from the lower control arms. The brake system will remain closed.
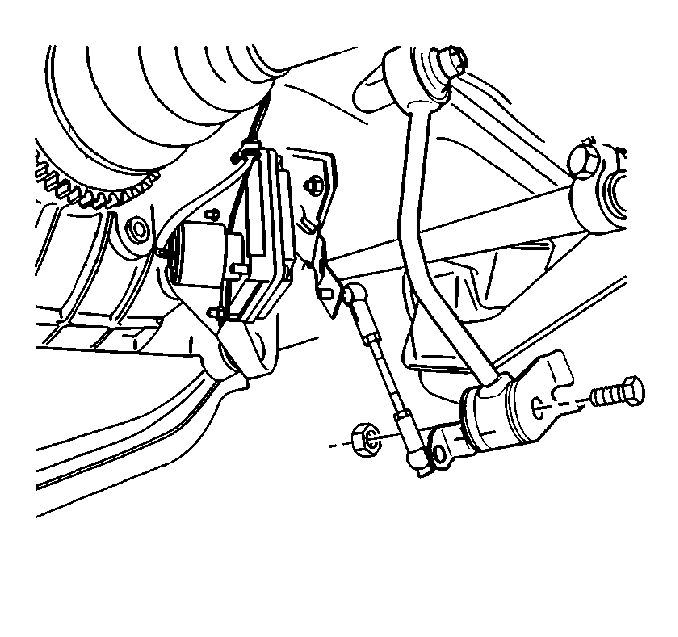
- Remove the stabilizer shaft link bolts.
- Remove the stabilizer shaft link from the lower control arms.
- Remove the exhaust system rubber insulators from the hangers. This will allow the exhaust to drop out of the way.
- Support the exhaust system. Do NOT allow the exhaust system to hang freely, because damage may occur to the pipe or the gasket.
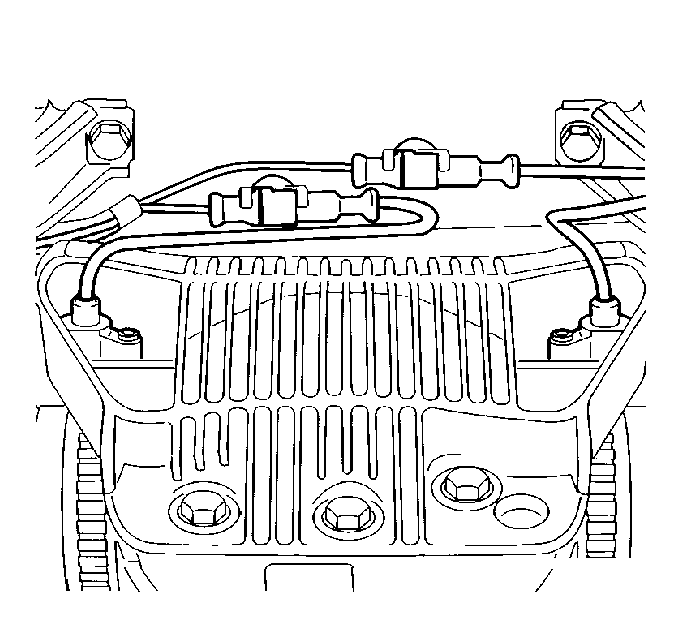
- Disconnect the electrical connections from the rear wheel speed sensor.
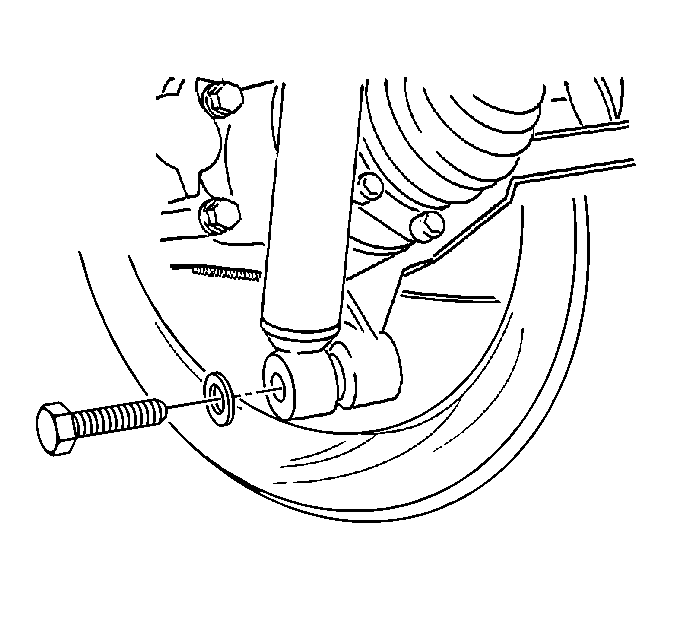
- Remove the lower mount bolts from the shock absorber.
- Remove the support from the lower control arms.
- Using a transmission jack, support the rear differential.
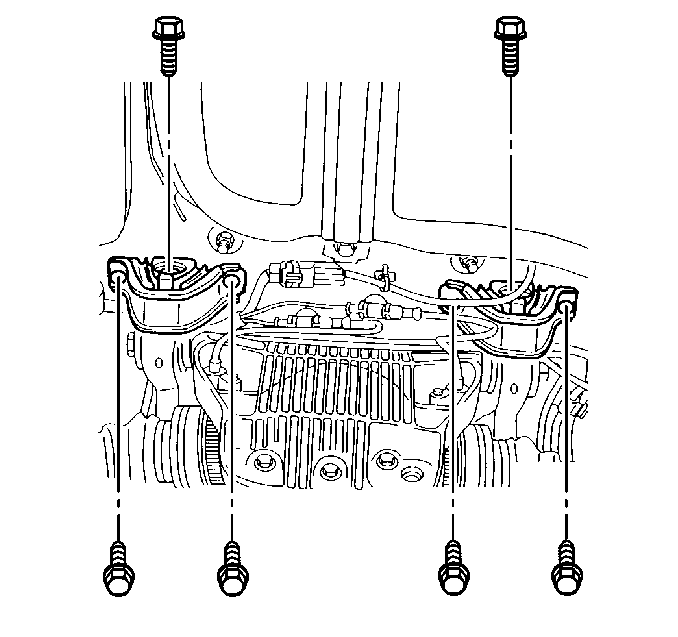
- Remove the bolts which secure the rear axle cradle mounts to the vehicle body.
- Lower the rear differential until you are able to remove the springs.
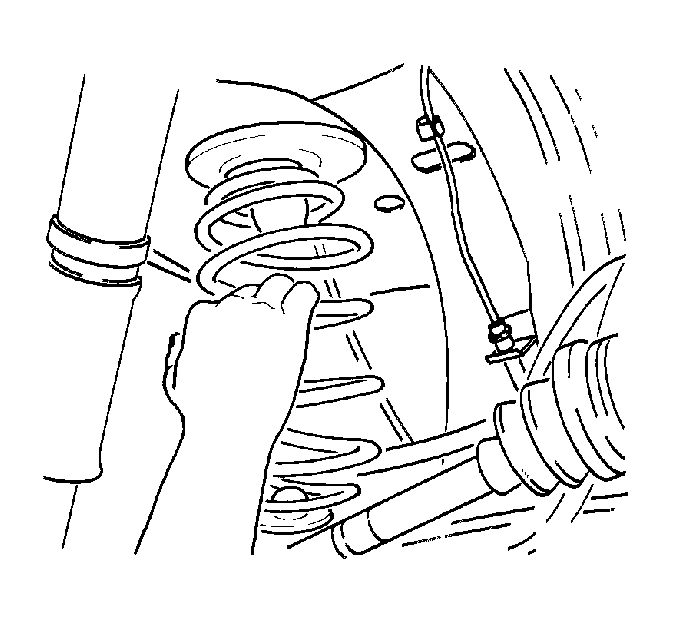
- Remove the rear springs with the spring seats attached.
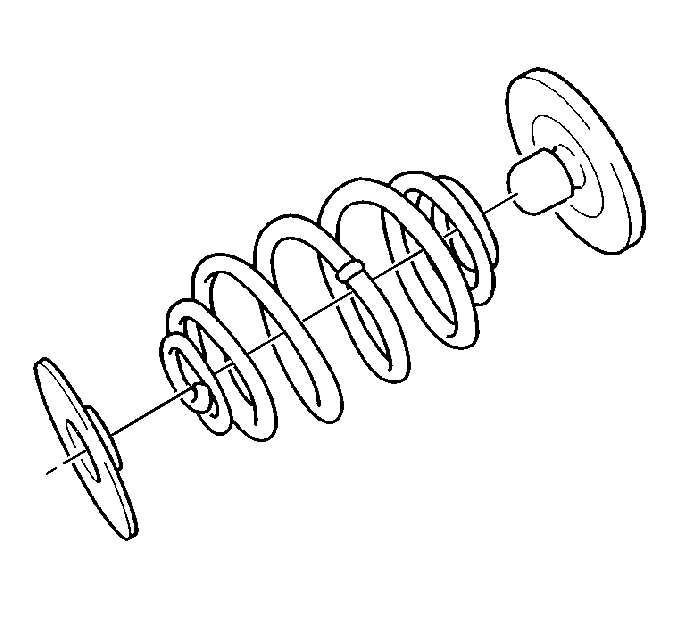
- Remove the spring seats from the springs.
Caution: To help avoid personal injury when a vehicle is on a hoist, provide additional support for the vehicle at the opposite end from which components are being removed. This will reduce the possibility of the vehicle falling off the hoist.
Important: Support each lower control arm when removing the lower mount bolt from the shock absorber. This will compensate for the pressure from the spring on the shock absorber mount.
Installation Procedure
- Install the spring seats to the spring.
- Install the rear springs to the lower control arm and body.
- Raise the rear differential into place.
- Align and place the protective shields.
- Secure the rear differential with the cradle mount bolts.
- Lower the support.
- Place the support under the left side lower control arm.
- Raise the support.
- Align and install the lower mount bolt to the shock absorber.
- Lower the support.
- Place the support under the right side lower control arm.
- Raise the support.
- Align and install the lower mount bolt to the shock absorber.
- Connect the electrical connections to the rear wheel speed sensor.
- Support the exhaust system with rubber insulators to the hangers.
- Install the stabilizer shaft link to the lower control arms.
- Install the stabilizer shaft link bolts.
- Install the brake pipes to the lower control arms.
- Secure the brake pipes with the retainers.
- Lower the vehicle.
- Adjust the rear toe to specifications. Refer to Rear Toe Adjustment in Wheel Alignment.


Important: If you do not properly install the spring leg within the spring seats, noises may occur.

Notice: Use the correct fastener in the correct location. Replacement fasteners must be the correct part number for that application. Fasteners requiring replacement or fasteners requiring the use of thread locking compound or sealant are identified in the service procedure. Do not use paints, lubricants, or corrosion inhibitors on fasteners or fastener joint surfaces unless specified. These coatings affect fastener torque and joint clamping force and may damage the fastener. Use the correct tightening sequence and specifications when installing fasteners in order to avoid damage to parts and systems.
Tighten
Tighten the cradle mount bolts to 65 N·m (48 lb ft).

Tighten
Tighten the lower mount bolt to 110 N·m (81 lb ft).
Tighten
Tighten the lower mount bolt to 110 N·m (81 lb ft).


Tighten
Tighten the stabilizer shaft link bolts to 20 N·m (15 lb ft).

