For 1990-2009 cars only
Removal Procedure
- Loosen the hose clamps at the upper and lower air ducts (at the top and bottom of the resonance valve assembly) and at the throttle body.
- Remove the upper air ducts.
- Remove the fastener and the resonance valve to the fan shroud.
- Disconnect the vacuum supply hose and the electrical connector at the control solenoid.
- Remove the resonance valve assembly from the lower air ducts. Then, remove the resonance valve assembly from the vehicle.
- Disconnect the vacuum hose at the control solenoid.
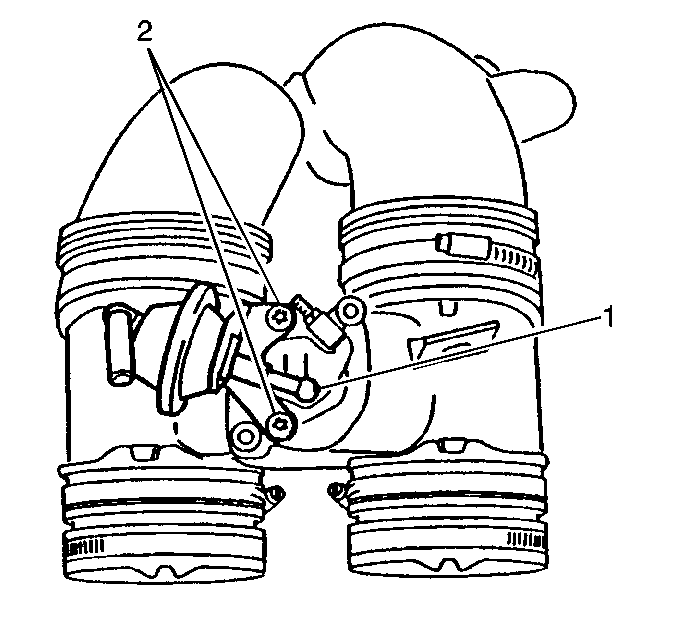
- Remove the two fasteners (2) and the control solenoid to the resonance valve.
- Remove the control solenoid from the resonance valve.
- Gently pry up on the linkage rod at the actuator lever (the linkage rod snaps ).
- Remove the fasteners. Then, remove the actuator diaphragm from the resonance valve.
- Remove the vacuum hose from the actuator diaphragm.

Installation Procedure
- Snap the actuator rod onto the lever on the resonance valve.
- Install/tighten the fasteners and the actuator diaphragm to the resonance valve.
- Install the control solenoid to the resonance valve.
- Install/tighten the fasteners (2).
- Connect the vacuum hose and the actuator diaphragm to the solenoid.
- Install the resonance valve assembly into the lower air ducts.
- Install the fastener and the resonance valve assembly to the fan shroud.
- Install the upper air ducts.
- Ensure that all of the air ducts are properly seated. Then, tighten all of the hose clamps.
- Connect the electrical connector and the vacuum supply hose to the control solenoid.

