Engine Control Module (ECM)
Notice: In order to prevent any possible electrostatic discharge damage to the ECM, do not touch the connector pins or the soldered components on the circuit board.
Service of the ECM should normally consist of either a replacement of the ECM or Theft Deterrent System frequency code programming. If the diagnostic procedures call to replace the ECM, first check the ECM in order to see if the ECM is the correct part. If the ECM is correct, remove the malfunctioning ECM and install the new service ECM. Reprogram the new ECM with the frequency code of the Theft Deterrent Module currently on the vehicle after the ECM has been replaced. Refer to Theft Deterrent System in Engine Electrical for the proper procedure. The vehicle will not start until this procedure is performed.
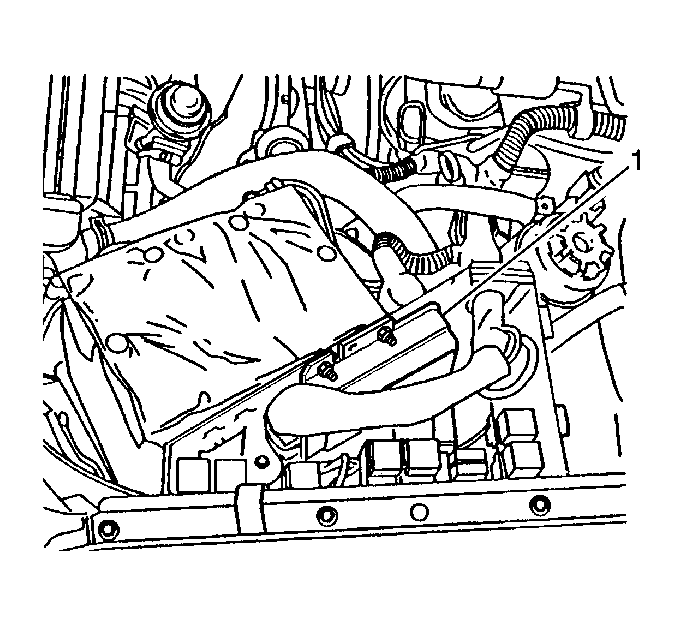
ECM Location

Notice: Always turn the ignition off when installing or removing the ECM connectors in order to prevent damage to the components.
Important: When replacing the production ECM (1) with a service ECM, it is important to transfer the broadcast code and the production ECM number to the service ECM label. Do not record on the ECM cover. This will allow positive identification of the ECM parts throughout the service life of the vehicle.
Important: In order to prevent any internal ECM damage, the ignition must be turned off when disconnecting or reconnecting the power to the ECM. This includes disconnecting/reconnecting the battery cables, the ECM fuse, the jumper cables, etc.
Removal Procedure
- Turn off the ignition.
- Remove the Under Hood Fuse/Relay Cover
- Grasp the ECM and slide the unit straight up and out of the underhood relay center.
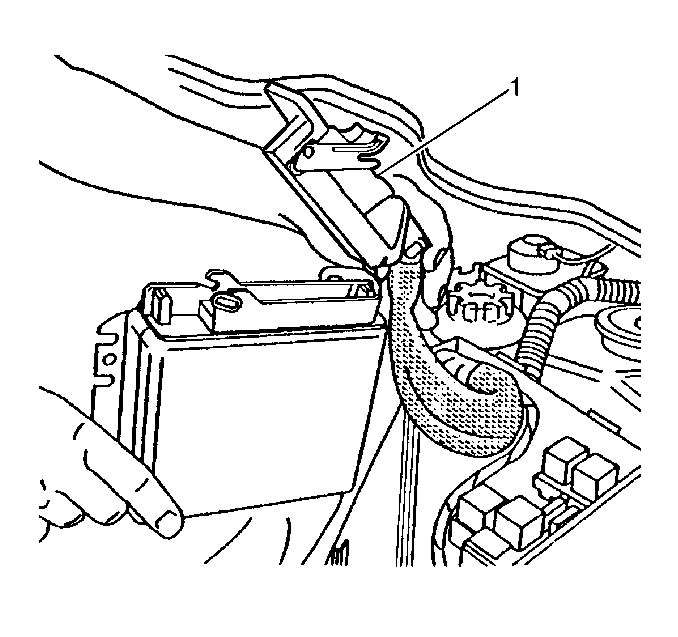
- Flip the release the lever and disconnect the harness connector (1) from the ECM.

Installation Procedure
- The ignition must be off.
- Carefully align the harness connector with the ECM connector (1). Insert the end of the connector where the harness exits, into the ECM first.
- Guide the connector into place while moving the release lever to the locked position.
- Align the backing plate of the ECM with the slots in the relay center and slide the unit straight down into the underhood relay center.
- Install the Under Hood Fuse/Relay Cover

