For 1990-2009 cars only
Removal Procedure
Caution: Gasoline or gasoline vapors are highly flammable. A fire could occur if an ignition source is present. Never drain or store gasoline or diesel fuel in an open container, due to the possibility of fire or explosion. Have a dry chemical (Class B) fire extinguisher nearby.
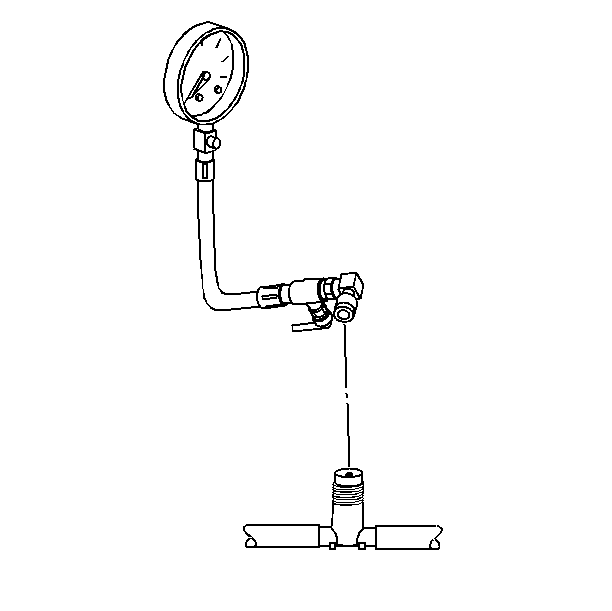
- Relieve the fuel system fuel pressure. Refer to the Fuel Pressure Relief .
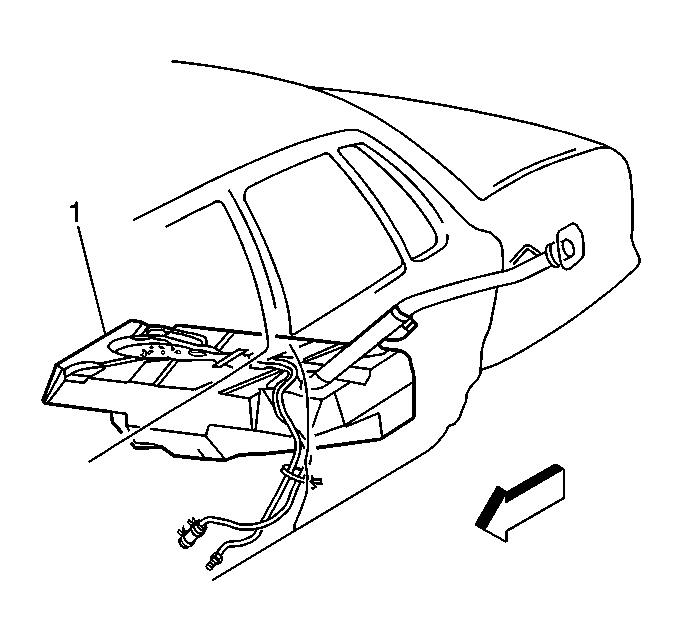
- Drain the fuel tank (1). Refer to Fuel Tank Draining .
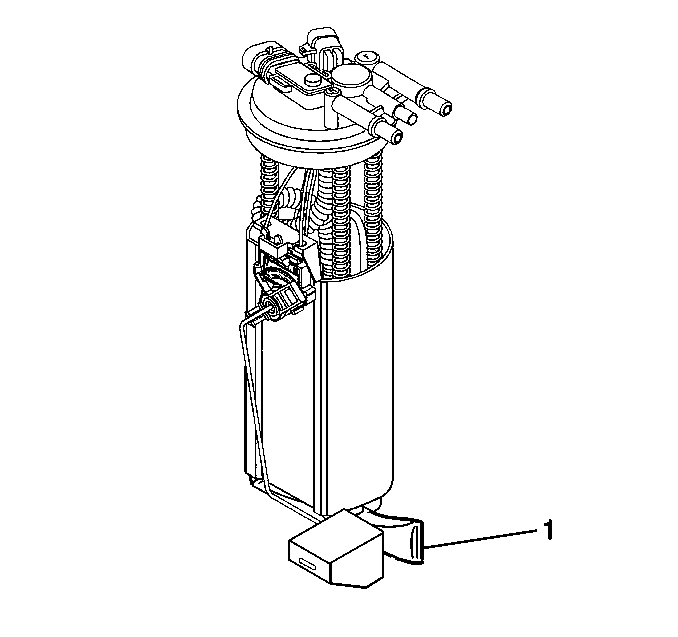
- Remove the fuel sender assembly. Refer to Fuel Sender Assembly Replacement .
Disassemble Procedure
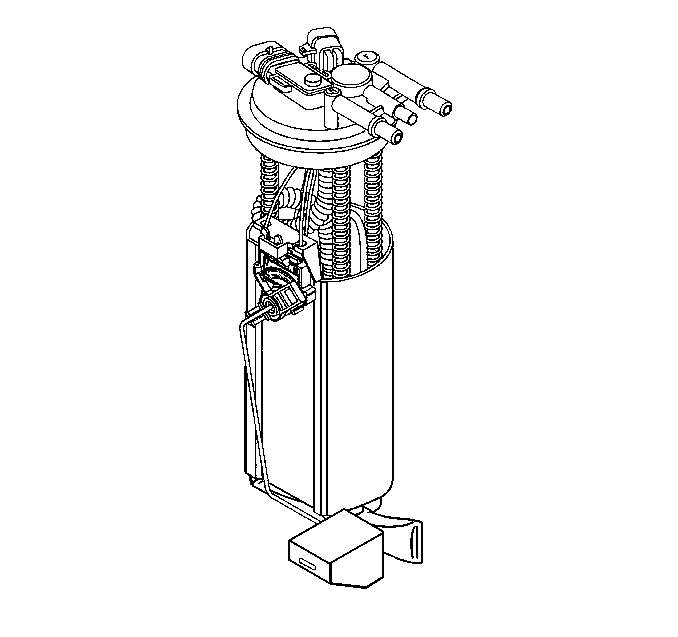
- Inspect the position of the fuel strainer (1) for installation.
- Support the reservoir with one hand and grasp the fuel strainer with the other hand.
- Place the fuel sender assembly upside down on a bench.
- Remove the fuel sender strainer.
- Inspect the fuel sender strainer. If the fuel sender strainer is contaminated, the fuel tank should be cleaned. Refer to Fuel System Cleaning .
- Discard the fuel level sensor after inspection.
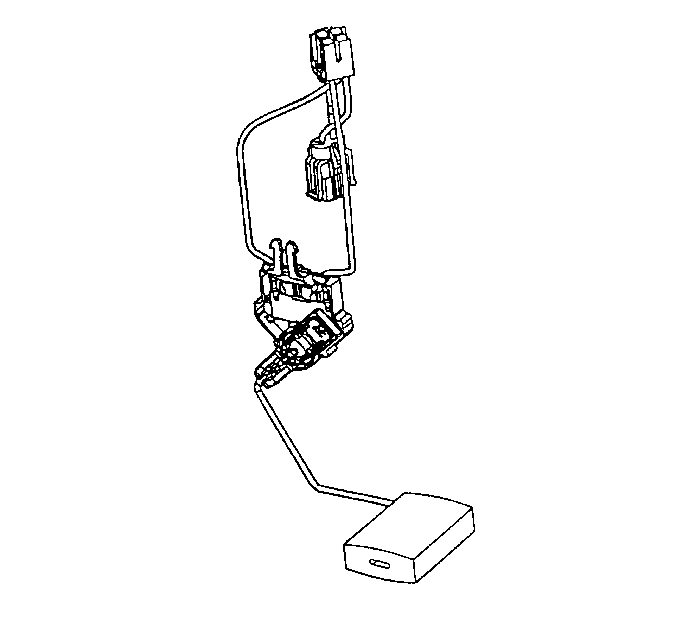
- Remove the electrical connectors from the fuel pump and cover assembly.
- Remove the fuel level sensor assembly.
Assemble Procedure
- Position the new fuel sender strainer on the fuel sender and push the outer edge of the fuel sender strainer until the fuel sender strainer is fully seated.
- Install the new fuel level sensor assembly.
- Install the electrical connectors to the fuel pump and the cover assembly.
Important: Always install a new fuel level strainer (1) when installing a fuel sender or fuel level sensor assembly.
Installation Procedure
- Install the fuel sender assembly. Refer to Fuel Sender Assembly Replacement .
- Add fuel and install the fuel tank filler pipe cap.
- Connect the negative battery cable. Refer to Battery Cable Replacement in Engine Electrical.
- Inspect for leaks.
| 4.1. | Turn the ignition switch to the On position for 2 seconds. |
| 4.2. | Turn the ignition switch to the Off for 10 seconds. |
| 4.3. | Turn the ignition switch to the On position. |
| 4.4. | Check for fuel leaks. |
