For 1990-2009 cars only
Special Tools
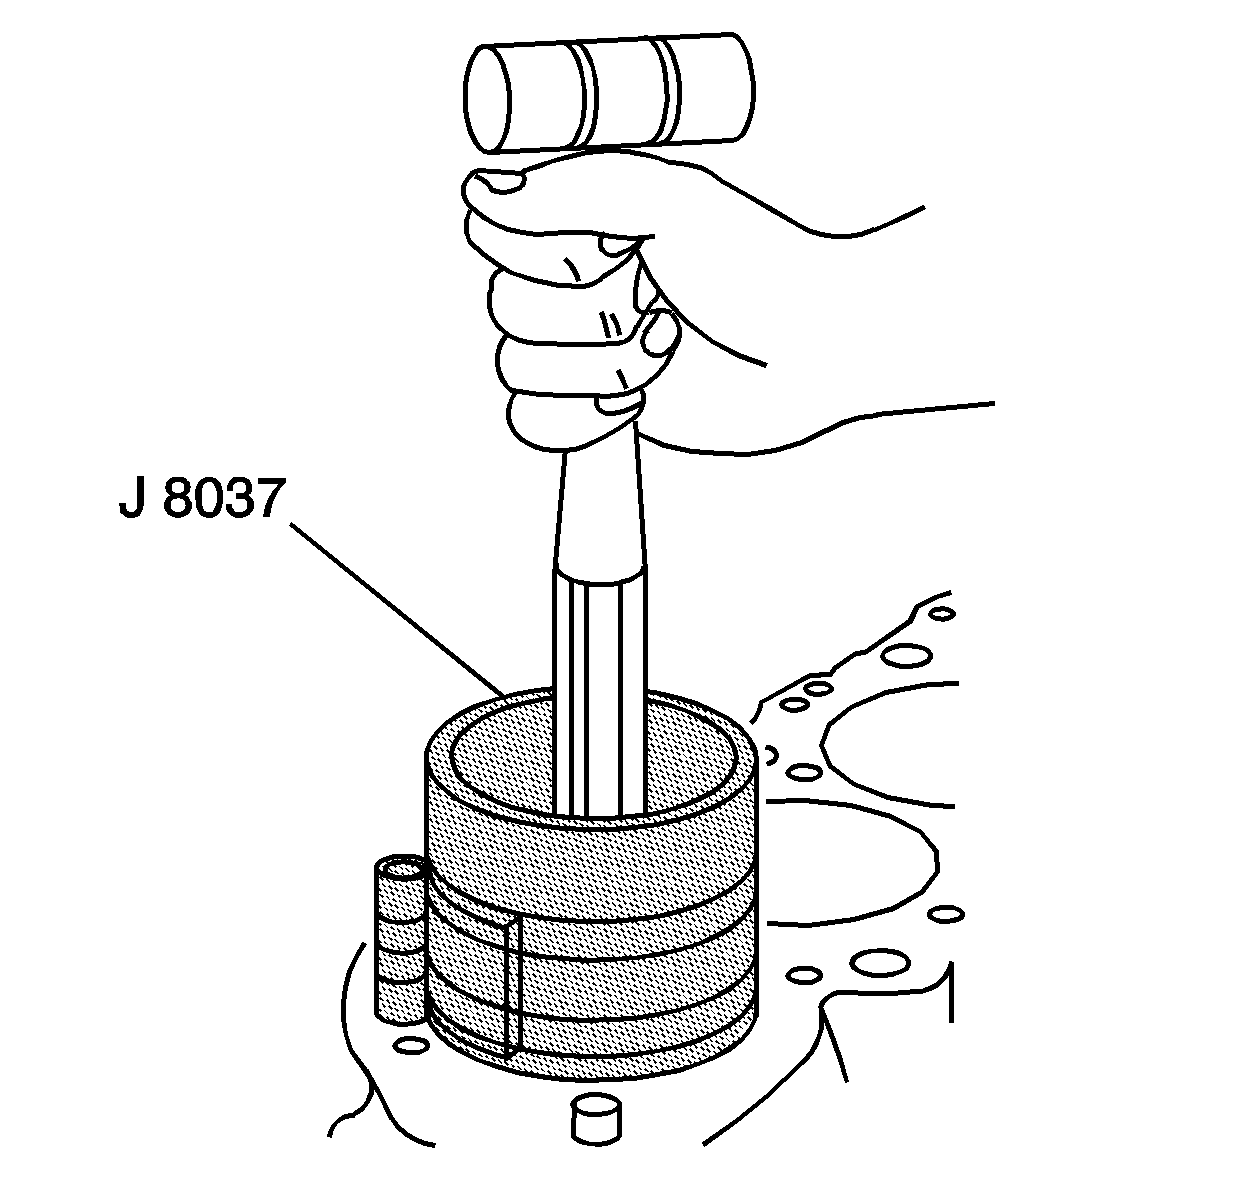
| • | J 8037 Piston Ring Compressor |
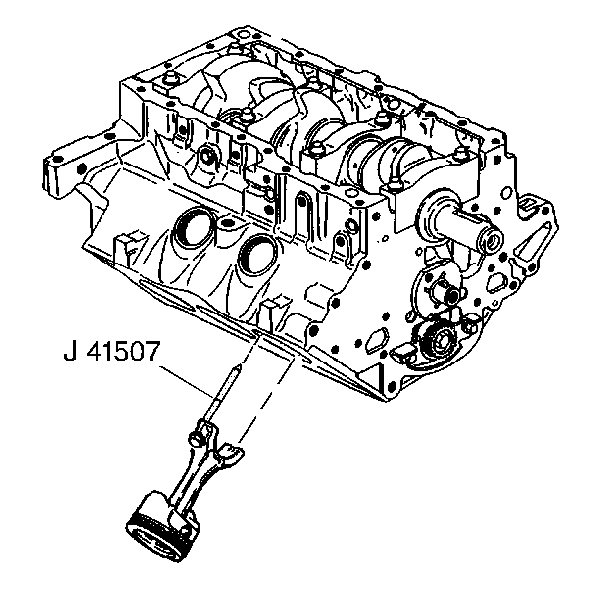
| • | J 41507 Connecting Rod Guide Assembly |
| • | J 45059 Angle Meter |
| For equivalent regional tools, refer to Special Tools. |
- Position the crankshaft so the connecting rod journal is opposite the piston and connecting rod assembly being installed. This will aid in the installation of the connecting rod assembly.
- Lubricate the cylinder wall with engine oil.
- Install the connecting rod bearing inserts.
- Lubricate the connecting rod bearing insert surface with engine oil.
- Install J 41507 assembly to the connecting rod. Hand tighten the tool to the connecting rod.
- Install J 8037 compressor to the piston.
- Use J 8037 compressor to compress the piston rings for installation of the piston and connecting rod assembly.
- Install the piston and connecting rod assembly into the engine.
- Use J 41507 assembly to pull the connecting rod into place.
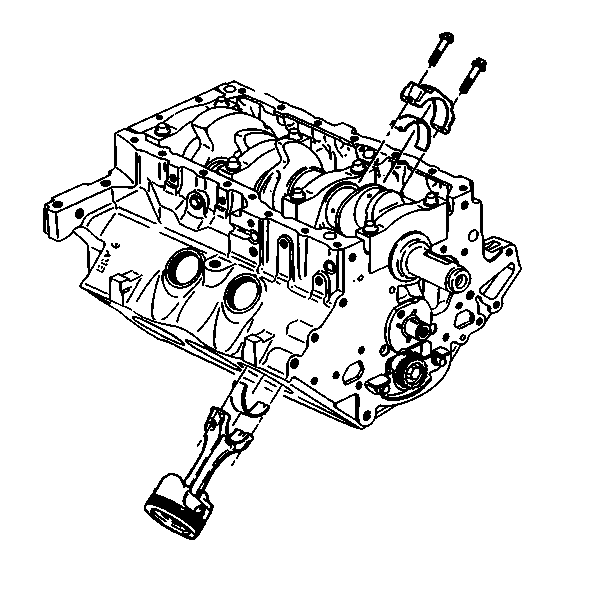
- Remove J 41507 assembly .
- Install the connecting rod bearing cap.
- Install the connecting rod bearing cap bolts and tighten the connecting rod bearing cap bolts to 27 N·m (20 lb ft) + 50 degrees using J 45059 meter .
- Pry the connecting rod back and forth and check for binding. If necessary loosen and retighten the connecting rod bearing cap.
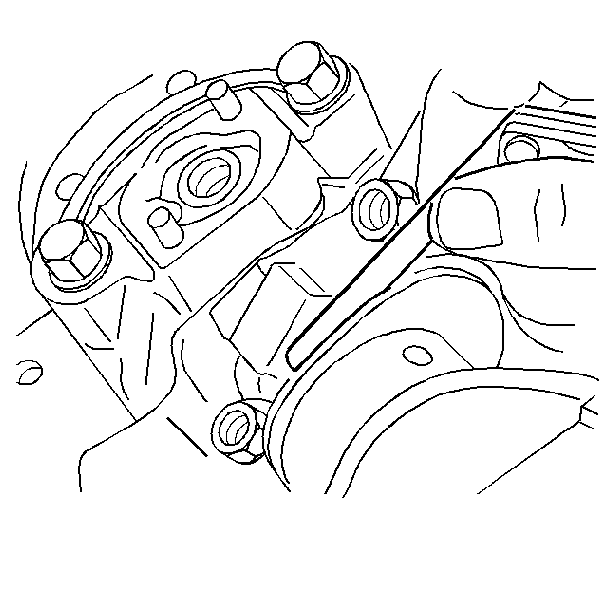
- Measure the connecting rod side clearance.

Caution: Guide the lower connecting rod end carefully to avoid damaging the crankshaft journal.

Note: Ensure the arrow on top of the piston or the markings made during removal face towards the front of the engine or are in the same location as when removed.

Caution: Refer to Special Fastener Caution in the Preface section.
Caution: Refer to Fastener Caution in the Preface section.

