For 1990-2009 cars only
Removal Procedure
Caution: Cap the fittings and plug the holes when servicing the fuel system in order to prevent dirt and other contaminants from entering the open pipes and passages.
Note: Always maintain cleanliness when servicing fuel system components.
- Drain the fuel tank. Refer to Fuel Tank Draining.
- Remove the fuel filler cap.
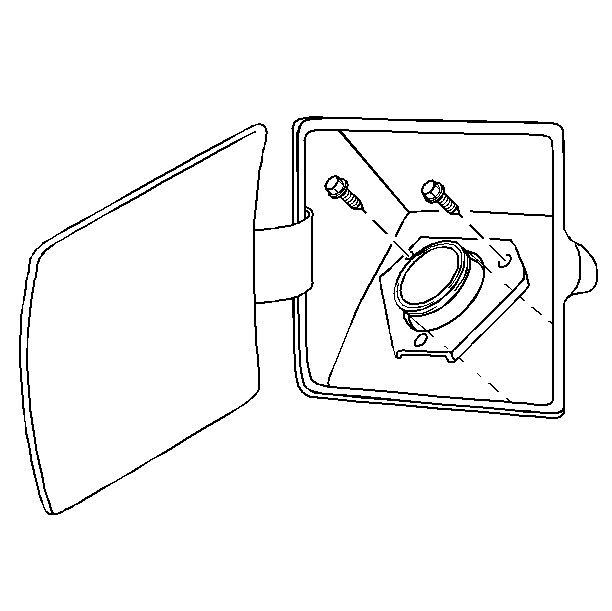
- Remove the fuel filler pipe screws from the fuel filler pocket.
- Raise and support the vehicle. Refer to Lifting and Jacking the Vehicle.
- Loosen the fuel filler hose clamp (1) at the fuel filler pipe (2).
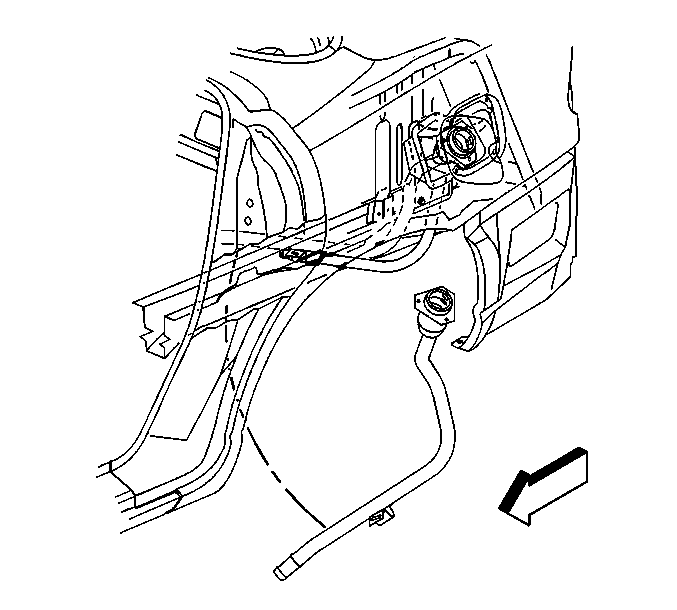
- Remove the fuel filler pipe screw from the under body.
- Remove the fuel filler pipe.


Installation Procedure
- Install the fuel filler pipe.
- Install the fuel tank filler pipe screw to the under body.
- Install the filler hose (4) to the fuel fill pipe (2).
- Ensure the clamp (1) is properly located on the tank port between the bead (5) and the pipe (3).
- Lower the vehicle.
- Install the fuel filler pipe screws to the fuel filler pipe access panel.
- Add fuel and install the fuel fill cap.

Caution: Refer to Fastener Caution in the Preface section.
Tighten
Tighten the screw to 13 N·m (115 lb in).

Inspect and ensure the filler hose (4) is fully seated on the fuel tank port and the fuel filler pipe (2).
Tighten
Tighten the fuel tank filler pipe hose clamp to 2.5 N·m (22 lb in).

Tighten
Tighten the screws to 2.5 N·m (22 lb in).
