For 1990-2009 cars only
Removal Procedure
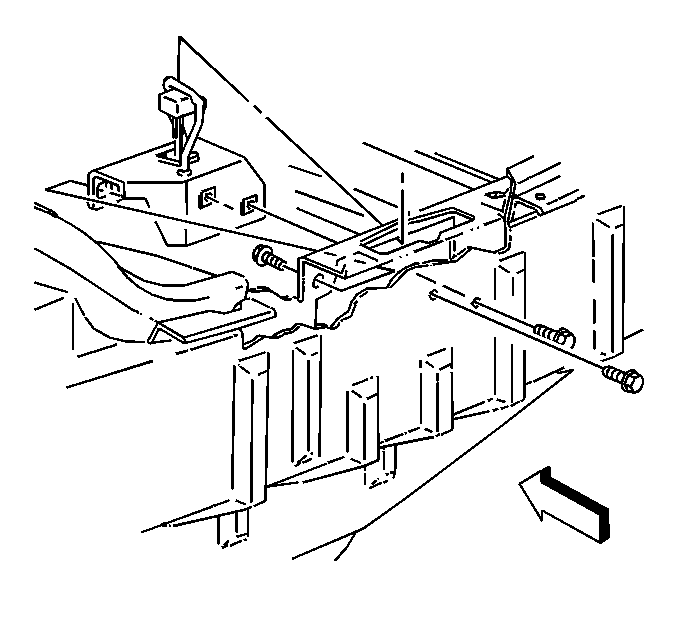
- Pull back the rear compartment trim as required to access the lock striker. Refer to Rear Compartment Trim Panel Replacement .
- Use a grease pencil to mark the location of the lock striker to the rear compartment for its location at installation.
- Remove the bolt from the rear compartment lid lock striker in the rear compartment.
- Remove the rear bumper fascia. Refer to Rear Bumper Fascia Replacement .
- Remove the rear compartment lid lock striker bolts from under the rear bumper fascia above the impact bar to the body panel.
- Remove the rear compartment lid lock striker from the rear compartment body panel.

Installation Procedure
- Position the rear compartment lid lock striker to the rear compartment body panel.
- Install the bolts in the center hole in the rear compartment lid lock striker under the rear bumper fascia above the impact bar to the rear body panel.
- Partially tighten the bolt to allow for adjustment of the rear compartment lid lock striker.
- Close the rear compartment lid and adjust the rear compartment lid striker as required.
- Install the other rear compartment lid lock striker bolts to under the rear bumper fascia above the impact bar to the rear body panel.
- Install the bolts to the lock striker in the rear compartment.
- Install the rear bumper fascia. Refer to Rear Bumper Fascia Replacement .
- Install the rear compartment trim. Refer to Rear Compartment Trim Panel Replacement .
- Close the rear compartment.

Notice: Refer to Fastener Notice in the Preface section.
Tighten
Tighten the bolts to 16 N·m (12 lb ft).
Tighten
Tighten the bolts to 16 N·m (12 lb ft).
