Removal Procedure
- Remove the case side cover. Refer to
Control Valve Body Cover Replacement
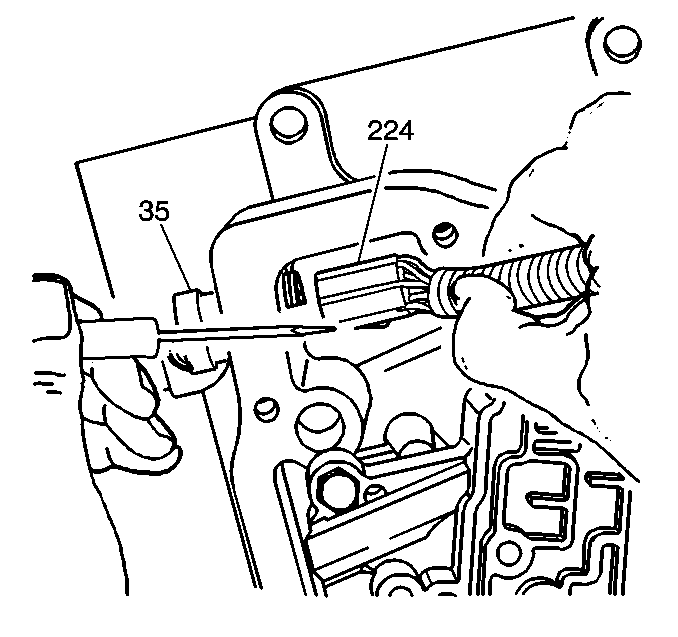
- Use a small flat-bladed
tool in order
to remove the wiring harness (224) from the case electrical connector (35).
- Use a small flat-bladed
tool in order
to remove the wiring harness from the solenoid valve(s) and/or the sensor.
- Remove the oil pump in order to access the Torque Converter Clutch
(TCC) Pulse Width Modulated (PWM) solenoid (325). Refer to
Oil Pump Replacement
- Remove the clips retaining the solenoid(s).

- Remove the solenoid(s).

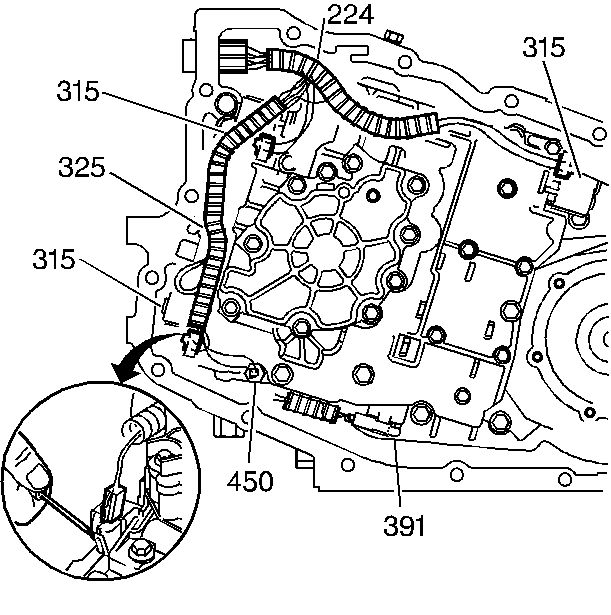
- Remove the 2-3 shift solenoid (315).
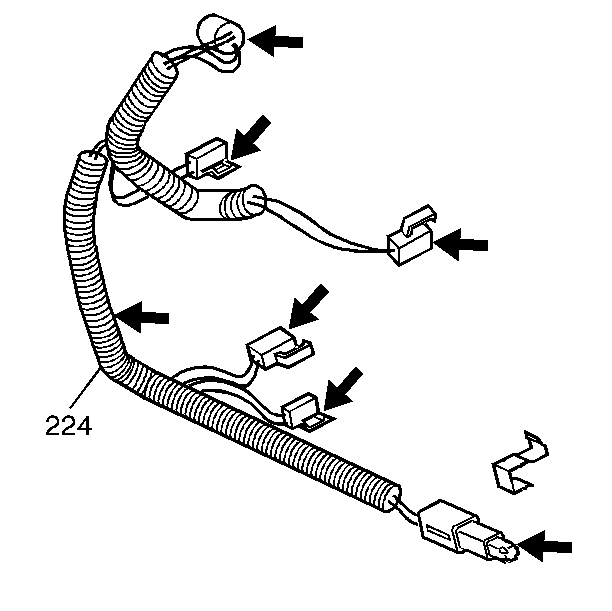
- Inspect the wiring harness (224) for the
following:
| • | Bent or broken electrical connectors |
Installation Procedure
- Install the 2-3 shift solenoid (315).
- Install the solenoid(s).
- Install the retaining clips.
- Install the oil pump, if removed. Refer to
Oil Pump Replacement

- Install the wiring harness to the electrical
connector in the case, the solenoid valve(s) and/or the sensor.
- Install the case side cover. Refer to
Control Valve Body Cover Replacement
